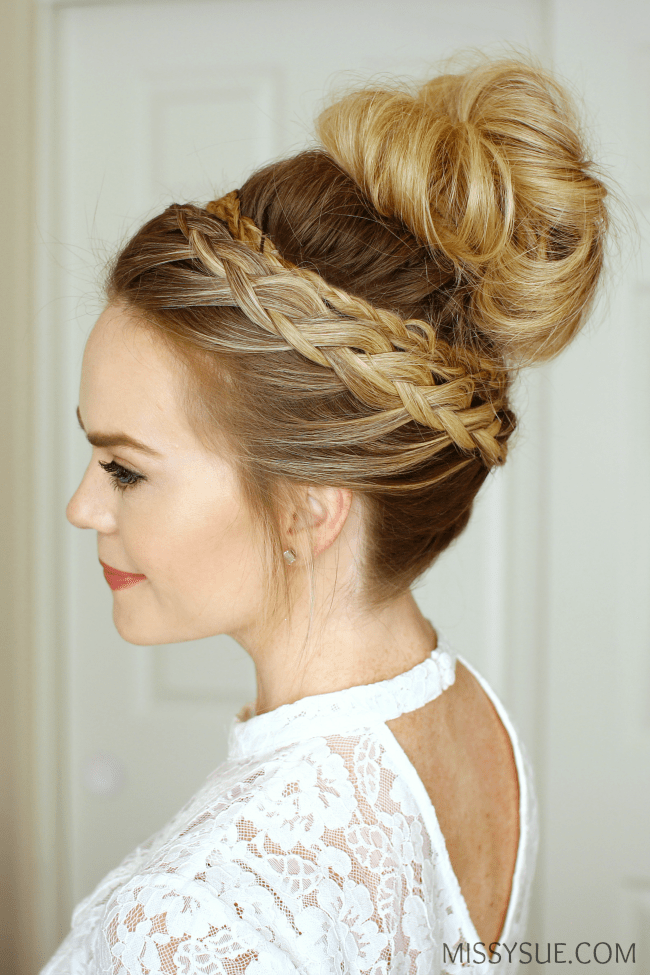
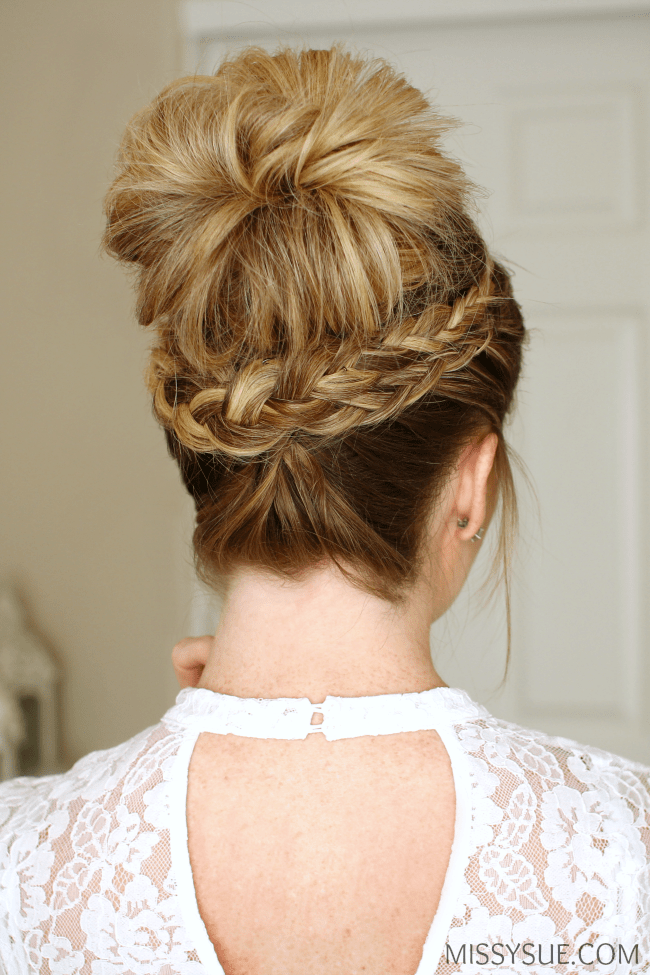
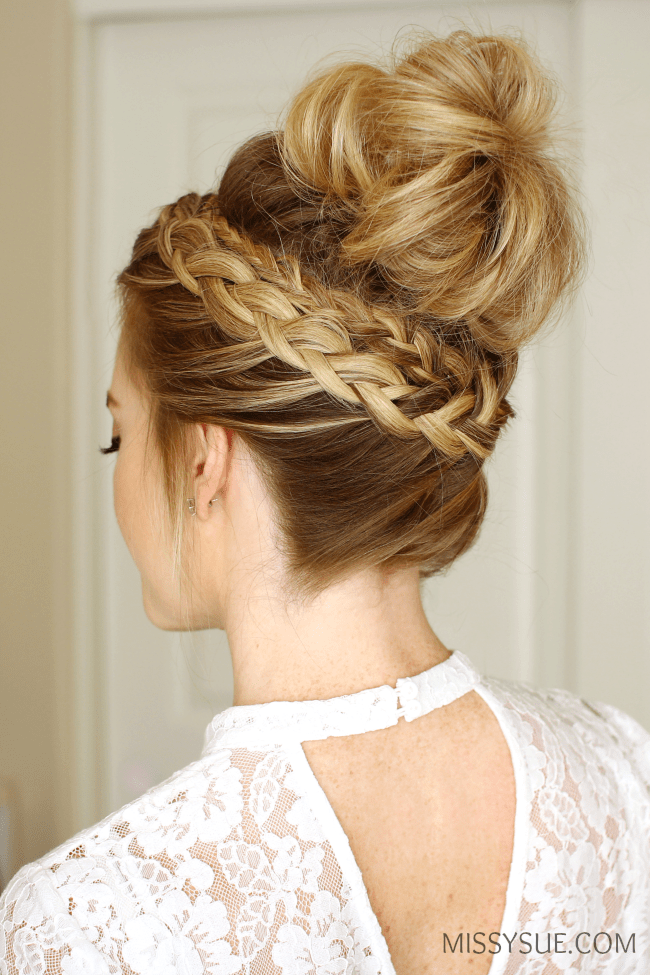
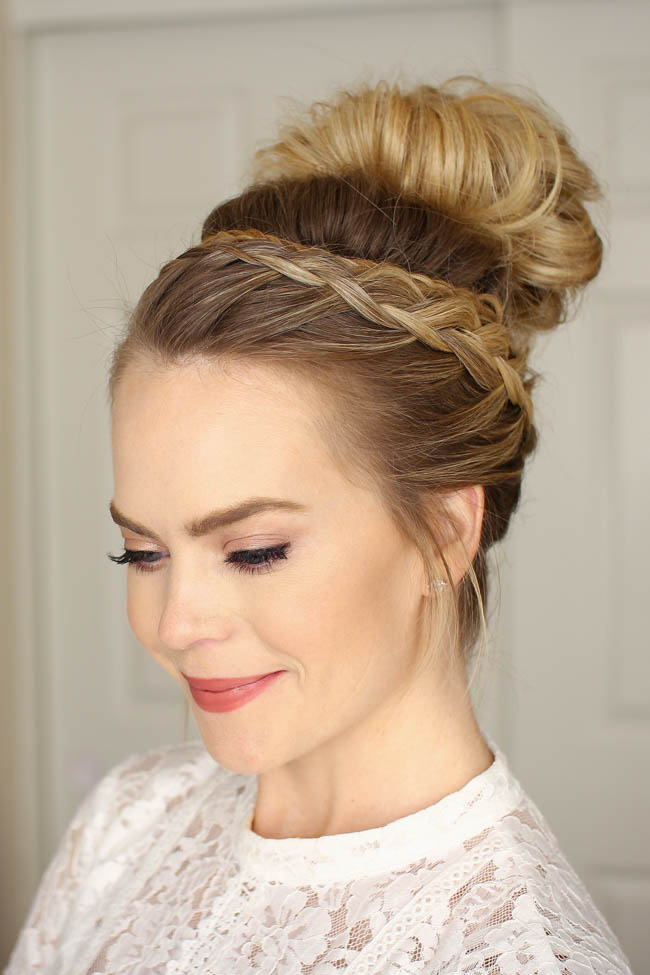
If you’re thinking you’ve seen this hairstyle before you are probably right. I have a tutorial for a similar version here but am always trying to figure out ways to make hairstyles a little easier to master. I took a few techniques from different hairstyles, this one and this one in particular for this new tutorial.
I think this is one of the coolest ways to dress up a messy bun or top knot. Once you get down the technique, I have no doubt people will be throwing all kinds of compliments your way. Let me know if you do try this out. I always, always love hearing when one of my hair tutorials is useful to you!
Dutch Braid High Bun Supplies:
- Paddle Brush
- 2 Hair sectioning clips
- 2 Clear elastic bands
- 8-10 Bobby pins
- 1 Hair band
- Medium-hold hairspray
Dutch Braid High Bun Instructions:
- Step 1 / Start by brushing through the hair to remove any tangles.
- Step 2 / Next, divide off a circular section of hair at the crown. Start the section about 3 inches back from the hairline. Use a hair sectioning clip to pin it out of the way. This will be used for the bun later on.
- Step 3 / Next create a deep side part on the right side.
- Step 4 / Pick up a small section on the heavy side of the part and split it into three pieces for the braid.
- Step 5 / Begin a dutch braid by crossing the side strands once under the middle strand.
- Step 6 / Cross the right strand under the middle and bring in a new section of hair.
- Step 7 / Now cross the left under the middle and bring in a new section.
- Step 8 / Continue the braid along the left side of the head but only bring in hair from along the hairline, keeping it high along the part line created at the beginning.
- Step 9 / When the braid reaches the back of the head stop adding in new sections and braid it to the ends.
- Step 10 / Tie an elastic band over the bottom so it doesn’t unravel.
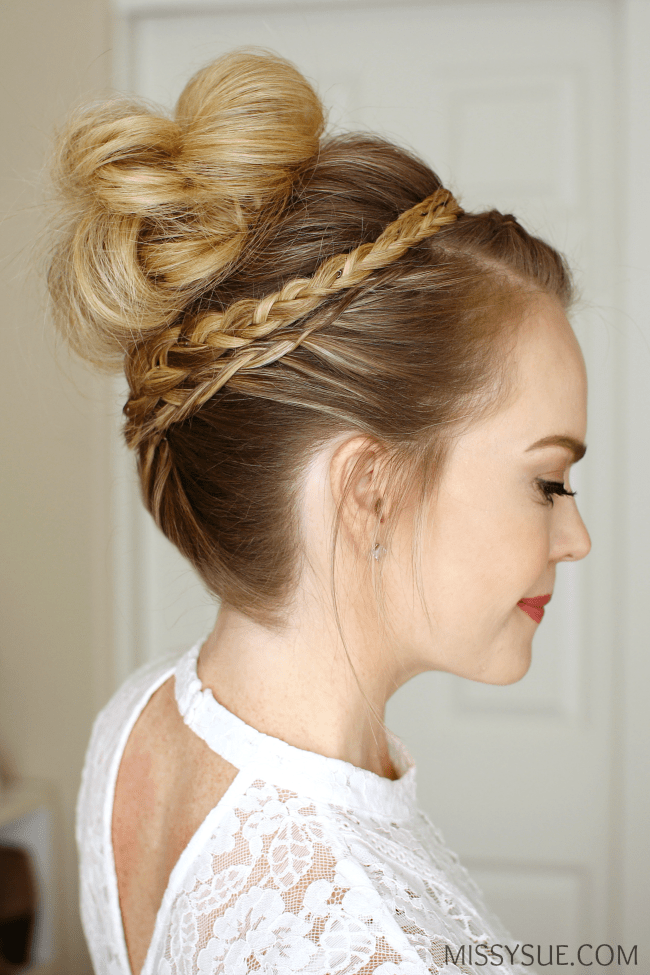
- Step 11 / Now create a second dutch braid on the right side of the head. Add in hair from along the hairline and keep the braid up high so it lines up with the part line created at the beginning.
- Step 12 / Once all of the hair is brought into the braid, braid the section to the bottom and tie it off with an elastic band.
- Step 13 / With both braids done, wrap the ends up and around both sides of the head.
- Step 14 / Criss-cross the braids over the top of the head and pin them in place with several bobby pins.
- Step 15 / Let down the hair at the top and hold it all together in a high ponytail.
- Step 16 / Wrap a hair band once over the section.
- Step 17 / Then put the band back in the dominant hand and twist the band once over the hand.
- Step 18 / Use the opposite hand to spread the ponytail around the hair band.
- Step 19 / Wrap the hair band twice more over the hair to create the base of the bun.
- Step 20 / Pull on the edges of the bun to make it bigger while also tightening it against the head.
- Step 21 / Combine the rest of the hair sticking out from the bun and loop it back into the hairband at the top of the bun.
- Step 22 / Pin down the edges of the bun so it’s flush with the head.
- Step 23 / Make sure the braids are hiding the part lines for the bun.
- Step 24 / Set the style with hairspray and smooth down flyaways.

I used this style as a bridesmaid in my friend’s wedding yesterday, and it was perfect! Thanks for the instructions – really easy to follow!
Looks beautiful! thanks for sharing xx
Love this look, so pretty and classic! Also love your makeup! :)
xx
http://www.firmabeauty.com