
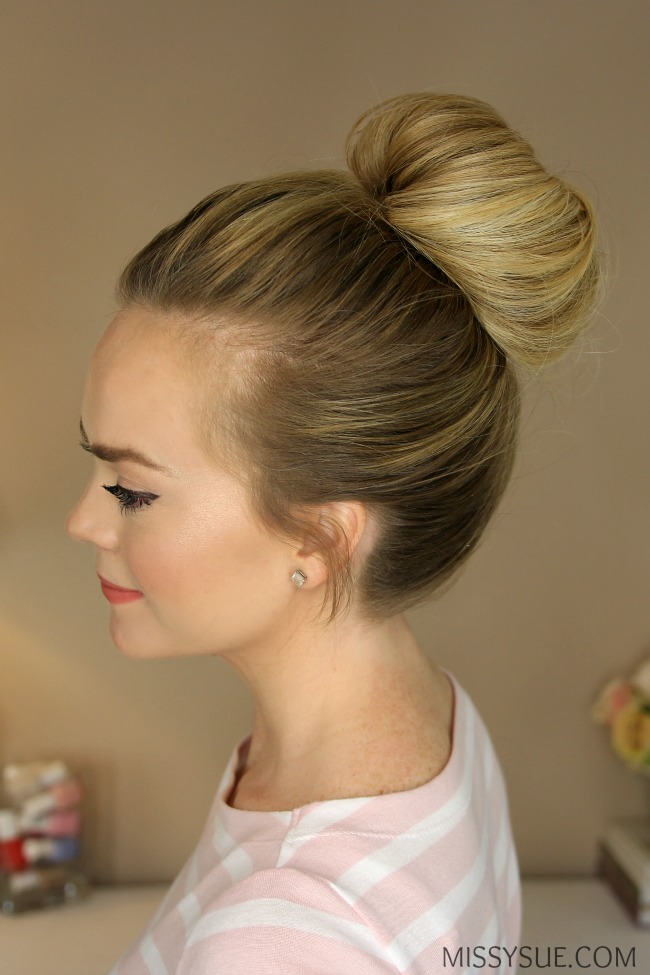
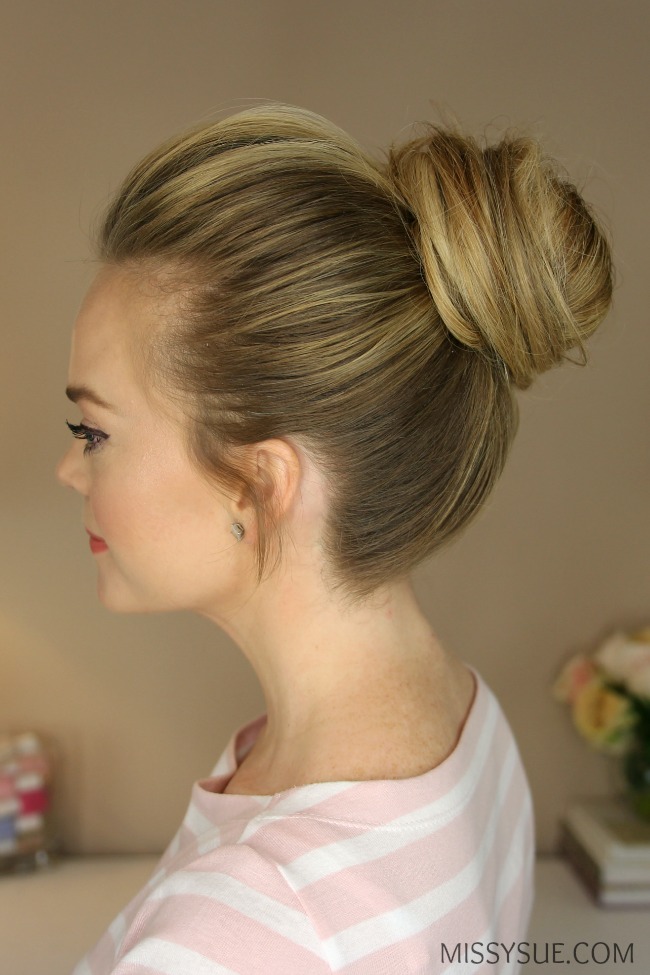
 You asked and I (finally!) listened! By far my most requested tutorial, today I am featuring how I create my messy buns! There are three different buns in today’s video with two signature styles and a third one that didn’t have a video but is still super cute.
The first bun is the one from the Triple French Braid Double Waterfall tutorial way back when. The second bun is the one I wear the most and show frequently in tutorials. Hopefully a better (slower!) break down of how each one is done will help you master the techniques too!
- 3 Holiday Hairstyles
- Dutch Braid High Bun
- Fishtail Lace Bun

Bun #1 Supplies:
Bun #1 Instructions:
- Step 1 / Start by brushing all of the hair into a high pony.
- Step 2 / Take a hair back and loop it once over the entire ponytail.
- Step 3 / Now twist the hair band once and leave it crossed over the fingers.
- Step 4 / With the head tipped forwards, spread the hair of the ponytail around the head so it’s evenly spread out.
- Step 5 / Pop the hair band over the top of the ponytail and it should create a small bun shape.
- Step 6 / Gently pull on the edges to make the donut bigger.
- Step 7 / Gather the ends sticking out and bring them towards the forehead.
- Step 8 / Loop them back towards the bun and tuck them into the hair band.
- Step 9 / Pull the center of the bun to make it tight against the head and carefully twist and shift the bun until it looks the way you prefer.
- Step 10 / Spray the hair with hairspray and smooth down flyaways.
Bun #2 Supplies:
Bun #2 Instructions:
- Step 1 / Brush all the hair into a high ponytail.
- Step 2 / Tip the head forward and holding the hair with the right hand, use the left hand to wrap a hair band over the top part of the ponytail, creating an ‘n’ shape.
- Step 3 / Now twist the left hand so it’s in front of the hair from the ponytail with the palm facing out.
- Step 4 / Twist the hand clock-wise so the hair band is twisted along with the hair from the ponytail.
- Step 5 / Then bring the left hand up to the top of the head, gripping the bun.
- Step 6 / Using the right hand, grab the hair band wrapped around the left hand down towards the base of the bun.
- Step 7 / Find the loop at the back and pull on this to tighten the bun against the head.
- Step 8 / Gently pull on the hair sticking out of the bun to carefully tighten the loop at the front of the head.
- Step 9 / Now loop these ends back towards the hair band and tuck them in to create a third loop.
- Step 10 / Carefully pull on the bun to arrange it better on the head before smoothing down flyaways with hairspray.
Bun #3 Supplies:
Bun #3 Instructions:
- Step 1 / Brush all the hair into a high ponytail and tie it off with a hair band.
- Step 2 / Take small sections of the ponytail and gently back comb the hair until it’s all back-combed.
- Step 3 / Bring all the hair forwards and twist it together towards the left side.
- Step 4 / Carefully twist the hair, wrapping it counter clock-wise around the hair band towards the right side.
- Step 5 / Once it reaches the right side, smooth out the twist and continue wrapping the hair around the base until reaching the ends.
- Step 6 / Pin down the edges of the bun with 3-4 bobby pins.
- Step 7 / Spray the hair with hairspray and smooth down flyaways.



I wish Man my mom could do that she probably can’t because the way she does it isn’t really messy and she takes my hand ponytails to
I luv this it’s so helpful thank you
I love all 3. I have long thin hair so 1 would probably be best for my hair. I really love bun #3. All of your bun tutorials are awesome. Thank you.
I have to have my daughter do my hair but I know she can do any of these buns with no problem. My hair is so long and I have been needing a way to get it up off my neck. Thank you so much.
Really enjoyed watching your video.
My hair is much shorter than yours, but very thick. Hoping in the future I will be able to attempt these looks. Thank you.
I liked the 1st one and the 2nd one but my hair is not even close to how thick ur hair is any helpful hints
Thank you! Shared your tutorial.
Love this look but I have such fine, thin hair my bun comes out the size of a mini donut! :(
Any ideas on how to do this for us who don’t have thick beautiful hair?
I’m no pro, but I find that “teasing” or “backcombing” the hair before twisting it helps. For volume and to keep in place
Love this tutorial! Thank you…❤️
I absolutely love your tutorials! They are so great and easy to follow!!! ???? Thank you
I can’t even get the first bun. When I hold the twist to try to make the donut, the ponytail just flips out of the band. Then when I try to make the donut, it just makes a loop. By the time I’m done, it looks like a snowman with the band obviously separating my hair.
Beautiful! Can’t wait till my hair is long enough to do this!!!
This tutorial is one of the best! You get right to the steps and illustrate the method wonderfully! Thanks!
I’ve watched your video for the 1st bun at least 20 times and I still get lost when you twist. Can you do a slower step-by-step video? I love the style so much!
I tried the second bun about 20 times but just can’t figure out the part where you are twisting the band and pulling the hair through…=(
I cannot get the second mini bun on the 2nd messy bun tutorial!!!! Please help!
So beautiful! My messy bun never looks this good, thanks for the ideas :)
Lucy xoxo
http://lucyannblog.blogspot.co.uk
I loved the second bun! I’m definitely going to be attempting them :) Thanks for sharing xx
http://www.lpagebeauty.com
Love this tutorial! I love all your braid videos, and pictures on instagram too, but I always wondered how you did your buns! Definitely going to try this tomorrow morning :)