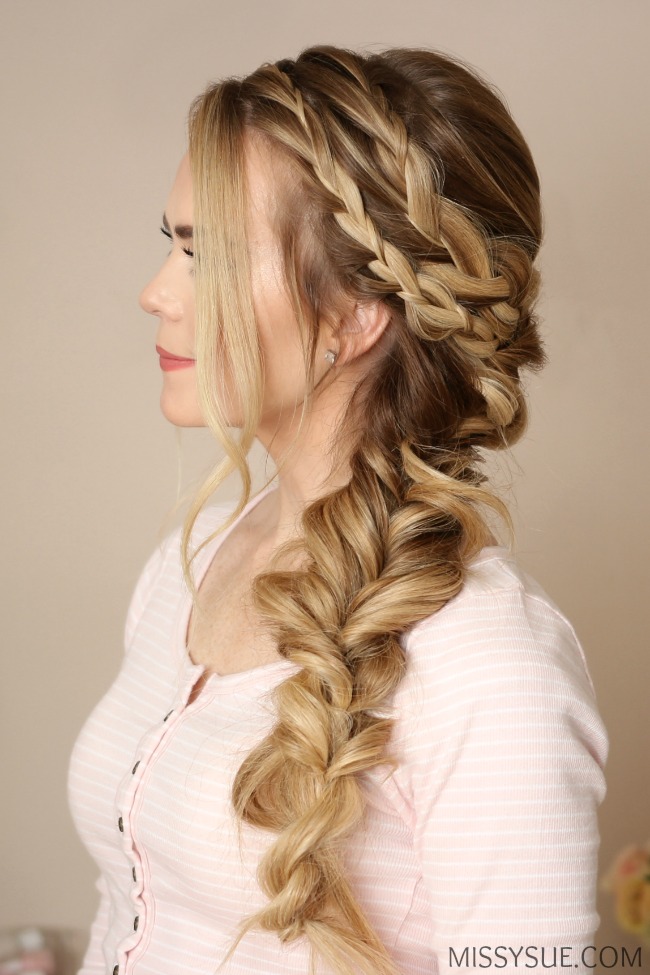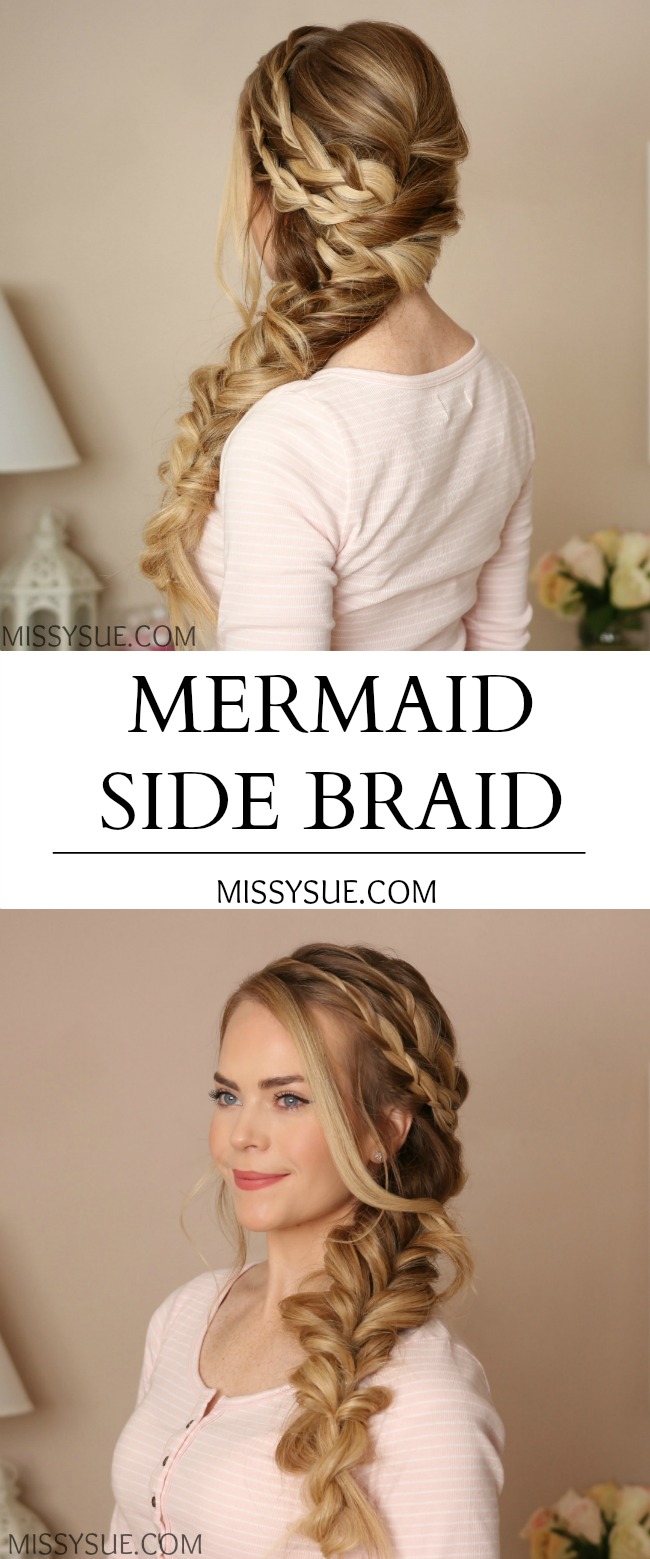

I am so excited about today’s tutorial! I really wanted to change up a side braid and make it look intricate and formal with a hint of bohemian flair. My favorite thing about this style is how easy it is to replicate. It looks tricky and difficult but once you take it piece by piece it all magically falls together into this gorgeous mermaid braid.
Looking back, I think it would be just as easy to pin the braids and twists before creating the tail but I really wanted those to drape over the top. I think when I recreate this look I’ll try doing it that way to see how it works out. Anyways, I hope you love it as much as I do!
- Twisted Mermaid Braid
- Half Up Mermaid Braids
- Dutch Mermaid Side Braid


Mermaid Side Braid Supplies:


Mermaid Side Braid Instructions:
- Step 1 / Brush through the hair to remove any tangles, then part it on the right side.
- Step 2 / Divide off a section of hair from the part down to the right ear and clip off the forward section.
- Step 3 / Now divide off a similar sized section on the left side, clipping the forward section out of the way.
- Step 4 / Pick up a circular section at the crown, twisting it together, and pinning it against the head with bobby pins.
- Step 5 / Divide off another triangular section behind the right ear, clipping it out of the way.
- Step 6 / Next, pick up a 1″ section of hair on the right side and left side of the head, directly below the pinned section at the crown.
- Step 7 / Tie the two pieces together with a small, clear elastic band.
- Step 8 / Create a topsy tail by bringing the ends up and through the gap above the band, pulling it back down again.
- Step 9 / Pick up two new sections, tying them together, and flipping them to create a second topsy tail underneath the first.
- Step 10 / Continue creating small topsy tails, working down towards the ends of the hair so the entire braids lays over the left shoulder.
- Step 11 / Let down the section on the left side, previously pinned, and divide it into two sections.
- Step 12 / With each section create a lace braid by incorporating new hair into the left side of the braid.
- Step 13 / Take the top most braid and bring it around the head, pinning it underneath the crown section, and tucking the end inside the topsy tail braid.
- Step 14 / Pin the second braid underneath the first, tucking the ends into the topsy tail braid as well.
- Step 15 / Let down the hair on the right side.
- Step 16 / Take the back most section and twist it together, upwards.
- Step 17 / Gently pull on the edges, lay it over the braids, and pin it against the head tucking the ends into the topsy tail braid.
- Step 18 / Repeat the previous step with the last section of hair, pinning it underneath the previous twist and tucking the ends into the topsy tail.
- Step 19 / Finish the end of the topsy tail by wrapping a small section around the ends and securing it with either an elastic band or bobby pin.
- Step 20 / Curl any pieces left down around the face and set the style with a firm-hold hairspray.


How long does your hair have to be for this hairstyle to be the length that your hair is in these after pictures?? Mine is only down to the middle of my back (with no braid), because I am doing this for my graduation that’s on Tuesday so I was just wondering…
This looks just so beautiful and let’s be honest, everything with the word mermaid in it sounds great and must be good! Thanks so much for sharing the look, I wish I was so talented as you when it comes to my hair, but well, I guess it’s never to late to lear a thing or two.
Do you know how long your hair has to be because mine is down to the middle of my back and I was wondering since I wanna do this for my graduation on Tuesday.