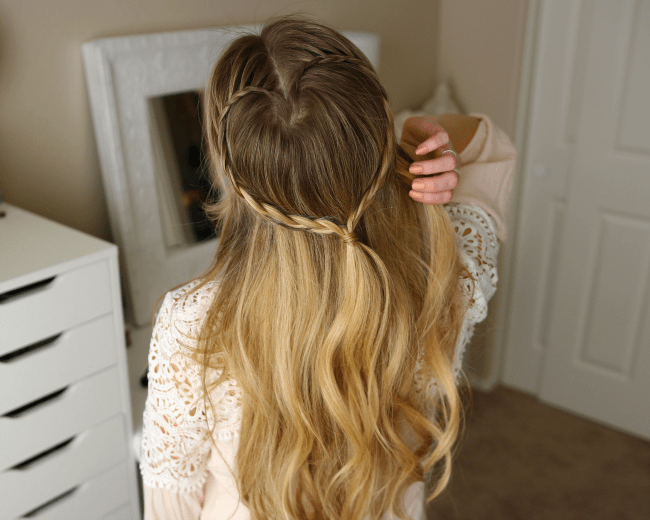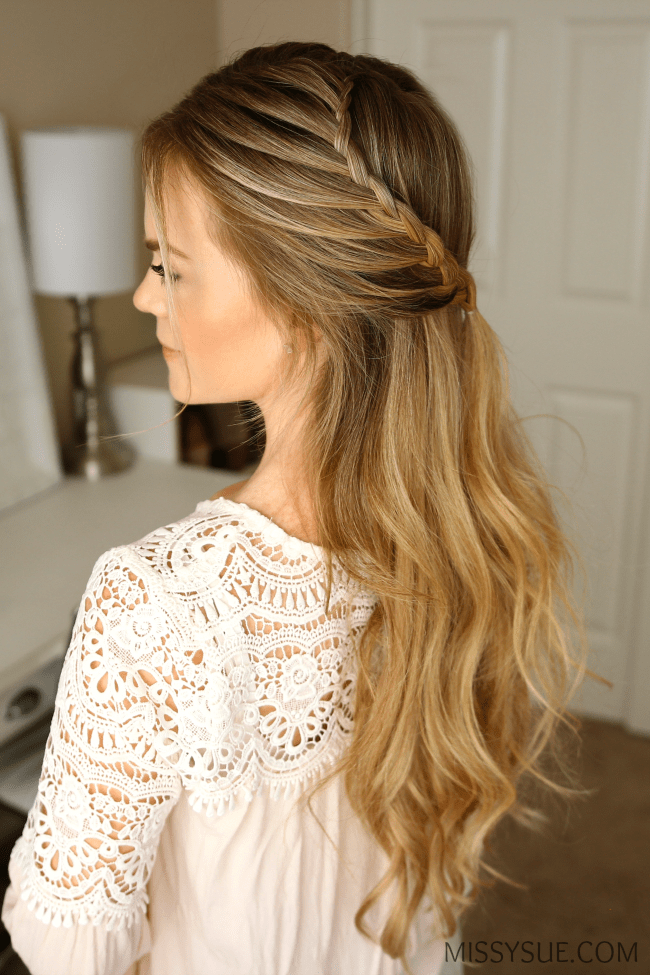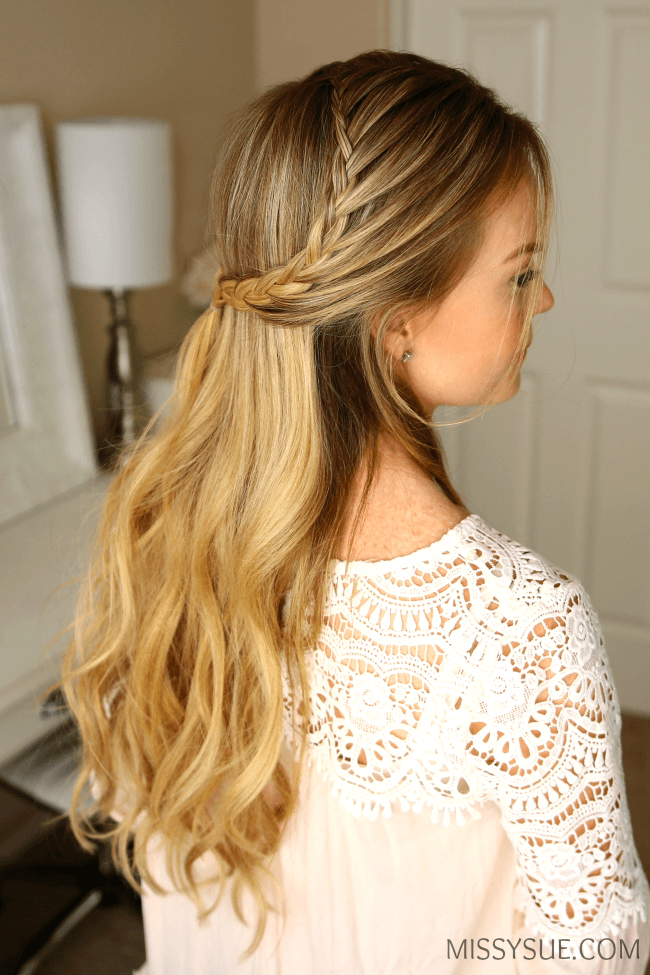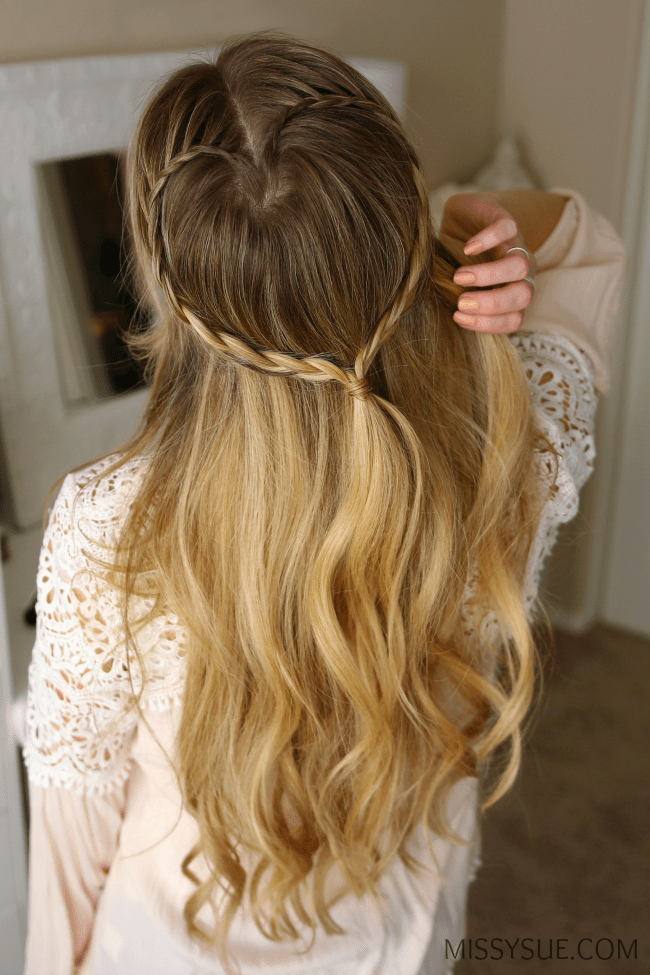

Happy Valentine’s Day! I know this is super last minute but I couldn’t help sharing one more cute heart hairstyle tutorial. I’ve seen this style done so many times so I couldn’t resist sharing my own version of it. This is so super quick and easy and to be honest I thought I was a little too old to wear this type of look but from the front it just looks like a regular half updo! If you give it a try please let me know and tag me on any social media, @MissySueBlog. I would love to see your recreation!

Braided Heart Supplies:

Braided Heart Instructions:
- Step 1 / Brush through the hair to remove any tangles. Create a center part with a rattail comb. Pick up a small section of hair at the end of the part line. Divide the section into three pieces and begin a braid by crossing the side strands under the middle strand. Continue braiding the hair bringing in hair from along the hairline creating an arch. This is the first part of the heart shape.
- Step 2 / Continue the arch, creating the left side of the heart shape, bringing in hair from along the hair until it reaches the top of the left ear.
- Step 3 / Once the braid reaches the ear, continue braiding the section and tie off the end with an elastic band.
- Step 4 / Pick up another section of hair on the right side of the part and begin a second lace braid on the right side.
- Step 5 / Continue the lace braid, bringing in sections along the hairline, creating the second arch of the heart.
- Step 6 / When the braid reaches the right ear stop adding in hair and braid the section a little further down.
- Step 7 / Tie the ends of the two braids together to create the bottom point of the heart.
- Step 8 / Spray the style with hairspray to set it and curl the ends with a 1 1/4″ curling iron.


This is beautiful! How do you make your Pinterest collages?! Love how they look =)