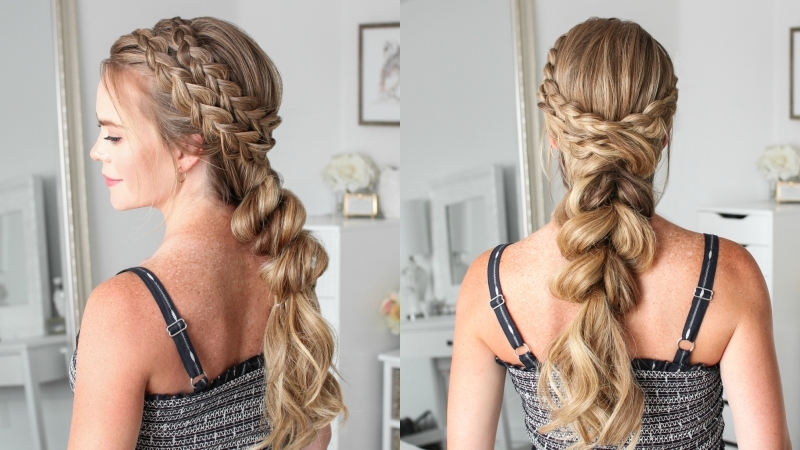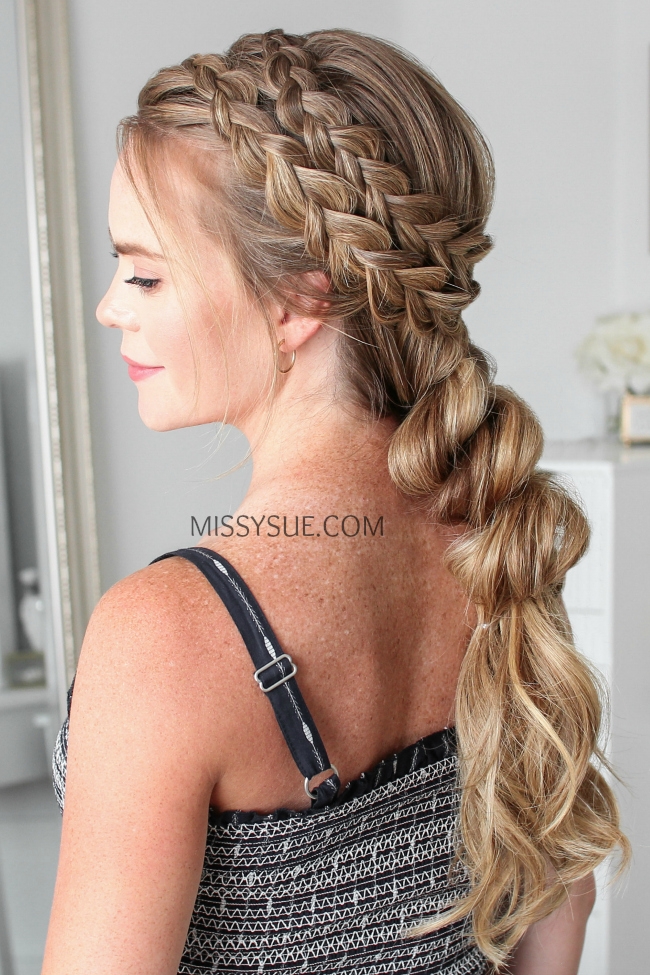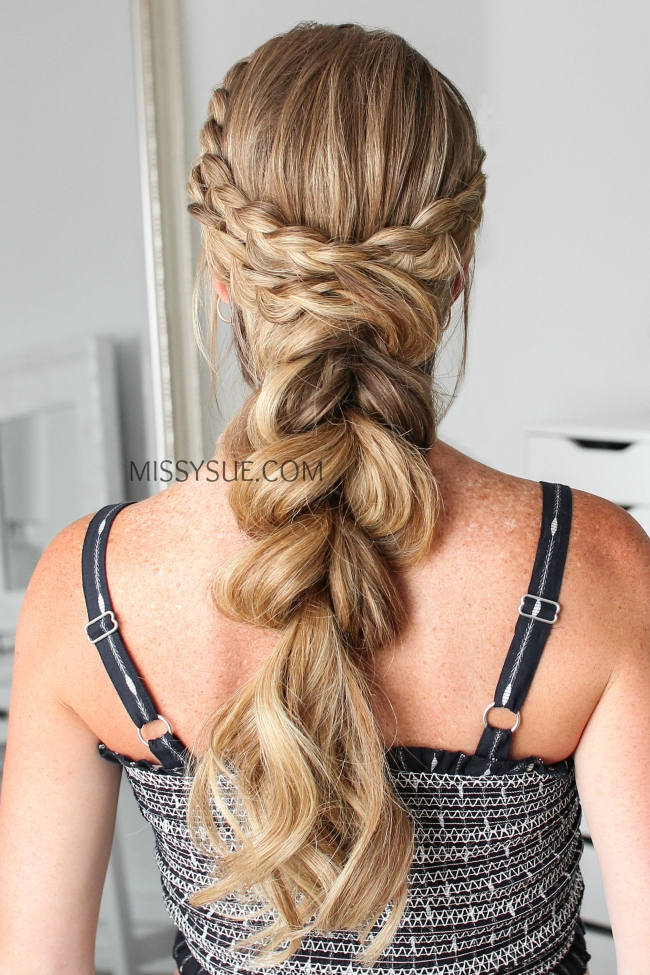
Who else is ready for Fall? I’m slowly getting there so I wanted to share a fun hairstyle that would work for a bunch of different occasions. School has started so homecoming is coming up along with some of the best holidays. This style would be great for whatever you have on your calendar and if you haven’t tried the pull thru braid yet you need to give it a shot. It’s quickly becoming a basic in my book!
Double Dutch Pull Thru Braid Supplies:
Double Dutch Pull Thru Braid Instructions:
- Step 1 / Start by parting the hair on the right side.
- Step 2 / Divide out a section a hair a few inches back from the hair line on the left side and clip away the forward and back hair.
- Step 3 / Braid this section into a dutch braid, crossing the side strands under the center strand while incorporating new sections into the braid.
- Step 4 / Once the braid reaches the left temple, stop adding new sections into the braid and continue braiding the section down to the ends in a regular three strand braid.
- Step 5 / Slide a bobby pin over the bottom so it doesn’t unravel.
- Step 6 / Let down the front section of hair and braid this into a second dutch braid.
- Step 7 / Create one more dutch braid with the hair on the right side of my head so I’m picking up a new section, dividing it into three smaller pieces and I’m going to cross the side strands under the middle strand while incorporating new sections into the braid.
- Step 8 / Go back over the braids and gently pull on the edges just slightly to make them wider and more full.
- Step 9 / Now take the braid from the right side and bring this around the back of the head and pin it in place with bobby pins.
- Step 10 / Then take the two braids from the left side and lay these over the right braid and pin them against the back of the head with more bobby pins.
- Step 11 / Remove the bobby pins from the ends of the braids and unravel them.
- Step 12 / With the remaining hair left down, divide it into two sections a top and bottom section and with the top section, divide this into two sections and wrap them around the bottom section of hair.
- Step 13 / Then tie the two sections together underneath using a clear elastic band.
- Step 14 / With the new top section of hair, divide this into two pieces and wrap them around the bottom section of hair and then tie them back together with another clear elastic band.
- Step 15 / Repeat these steps, working down the length of hair until there are 4 or 5 sections of the braid. You can create more or less depending on the length of your hair.
- Step 16 / Go back over the sections and pull on the outside edges so the pull through braid looks wider and more full.

