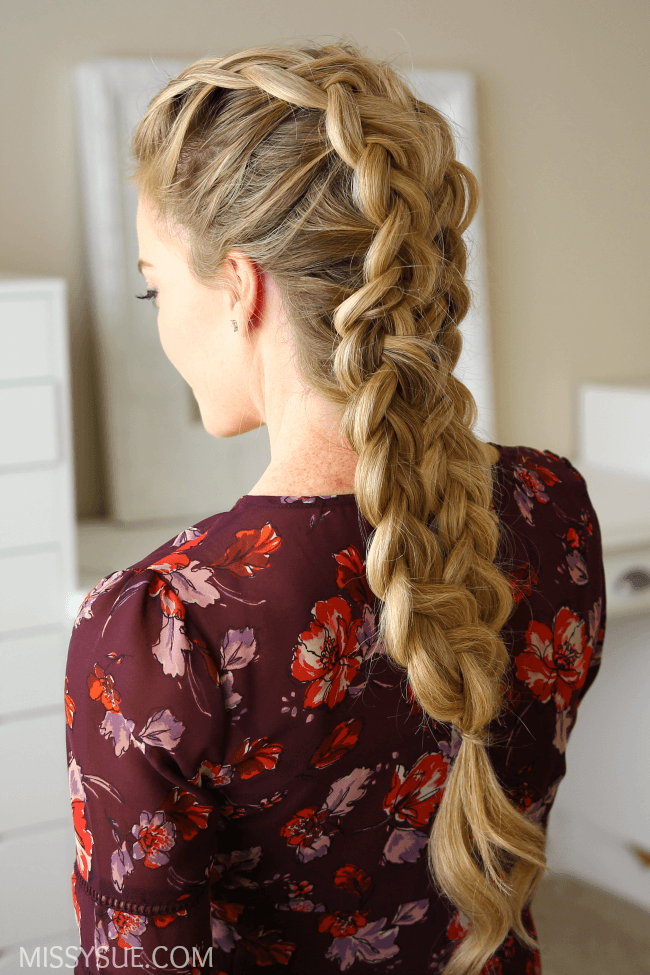
I’ve been meaning to post this tutorial for a few weeks now and kept putting it off. I love this look because it has a softer feel than typical dutch braids. One of my favorite things about hair is that you can easily change a style from casual to fancy with just a few small tweaks. Even though this style may look complicated it’s actually so easy once you understand how to dutch braid… I just got another idea for a new tutorial. I’ll write that one down and let’s move into the steps for this one (: 
Double Dutch Braids Supplies:

Double Dutch Braids Instructions:
- Step 1 / Start by brushing the hair to remove any tangles and then create a center part using a rattail comb.
- Step 2 / Continue the part down the back of the head, dividing the hair into two equal sections, and tie off the right section.
- Step 3 / Pick up a section of hair on the left near the hairline and divide it into three equal sections.
- Step 4 / Cross the right side strand under the middle and then the left side strand under the middle to begin the braid. Continue crossing the side strands under the middle alternating between the left and right side and begin incorporating hair into the braid.
- Step 5 / Continue the braid down the left side of the head, keeping it as close to the part line as you can, until all of the hair is brought in. Then braid the rest of the section to the ends and tie it off with an elastic band.
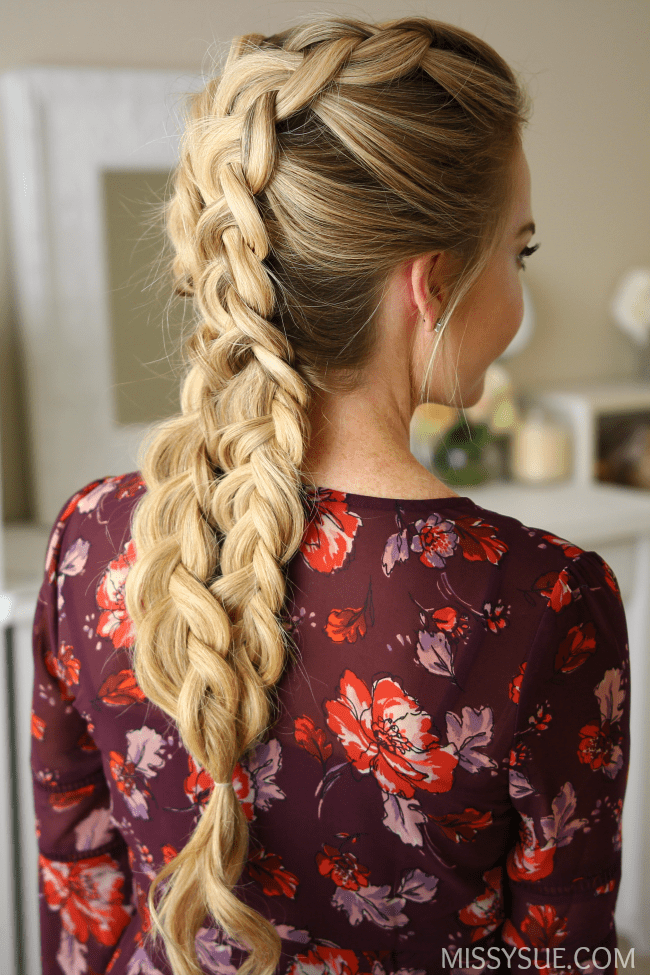
- Step 6 / Let down the hair on the right side and create a second dutch braid, keeping it close to the center part line, and tying off the ends with an elastic band.
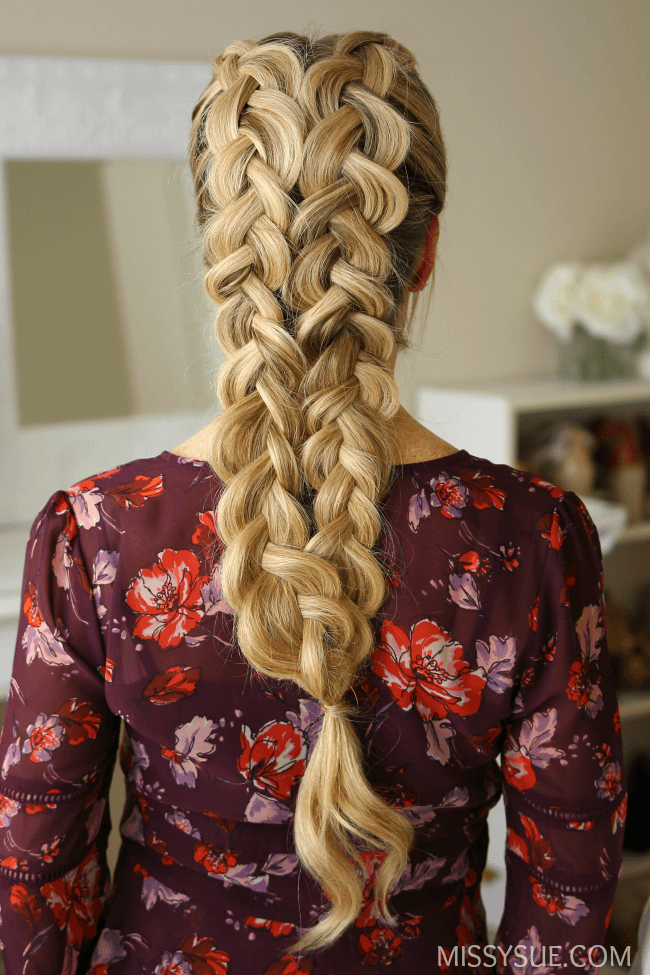
- Step 7 / Go back over both braids and pull on the edges so they touch each other in the middle.
- Step 8 / Slide bobby pins down the center of the braid to keep the braids together. Then tie the two ends together with the same elastic band.
- Step 9 / Spray the style with hairspray and smooth down any flyaways.