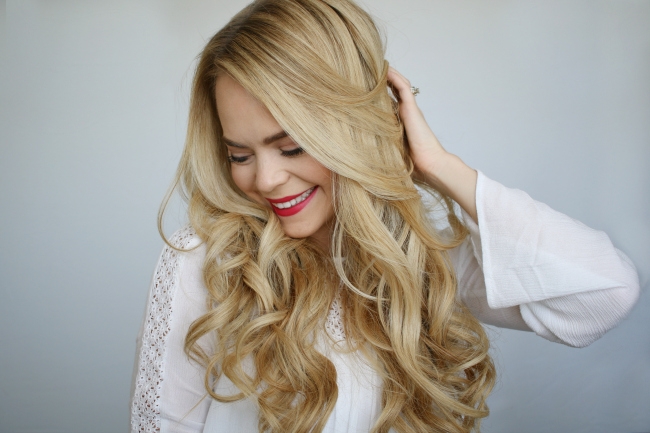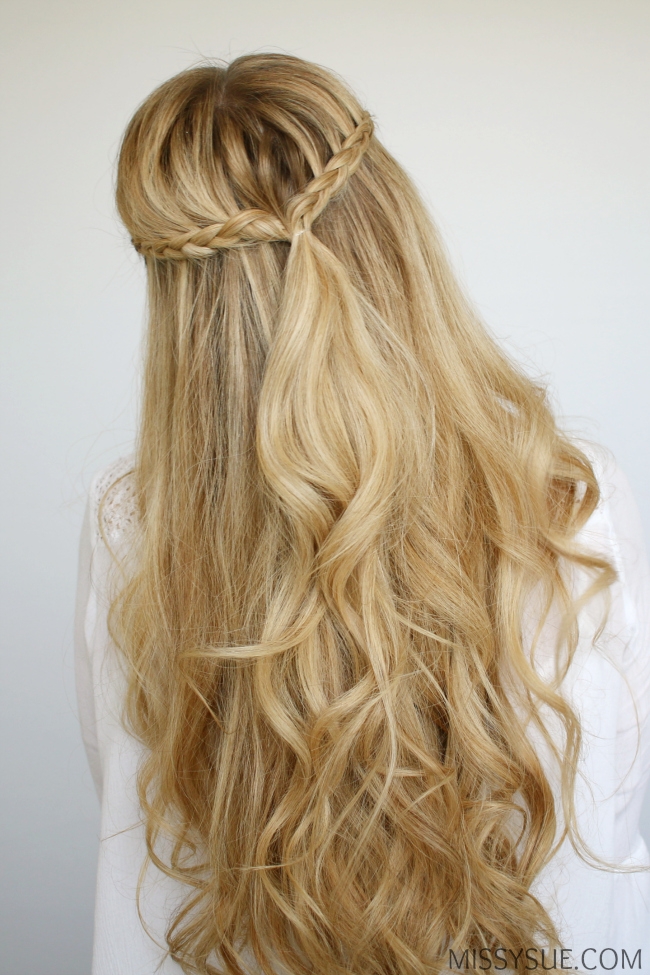
 A tutorial on Monday, whaaaaat?!? Today I’m partnering with John Frieda to share with you how to create these mini braids and beach waves. I am obsessed with this style because it has such a summery vibe but I definitely think this is a look you could sport all year round. School’s coming up and it would be so cute during that first week of school when you’re still getting ready each morning, *wink wink. I hope you love this style as much as I do and think you’ll love how easy these curls are to create so let’s get to it!


Beach Waves Instructions:
- Step 1 / Divide the hair at the top of the ears and clip off the top portion.
- Step 2 / Pick up a small 1″ section of hair and wrap it around a 1″ curling iron, wrapping it away from the face.
- Step 3 / Hold the section for 5-8 seconds before releasing it.
- Step 4 / Pick up a new section and wrap this one towards the face around a 1 1/4″ curling iron.
- Step 5 / Continue picking up small sections of hair, wrapping them around a 1″ and 1 1/4″ curling iron, alternating between wrapping them towards the face and away from the face.
- Step 6 / Once all the hair from that section is curled, let down the top section and repeat the same steps until all of the hair is curled.
- Step 7 / Grab the John Frieda Sea Waves™ Salt Spray and mist it all over the hair before gently shaking out the curls.

Half Up Dutch Braids Instructions:
- Step 1 / Begin by parting the hair where you normally part it; I’ve put mine on the right side.
- Step 2 / Starting on the left side, divide off a small section of hair lined up with the temple.
- Step 3 / Divide the section into three pieces and cross the side strands under the middle section.
- Step 4 / Cross the top strand under the middle then pick up a skinny slice of hair from the front hairline, bringing it down to the braid and crossing it into the braid as well.
- Step 5 / Cross the bottom strand under the middle and bring in a small section right under the braid.
- Step 6 / Cross the top strand under the middle and bring in another slice of hair from the top of the head behind the first section.
- Step 7 / Cross the bottom strand under the middle but don’t add in any additional sections to this side of the braid.
- Step 8 / Now cross the top strand under the middle, and bring in a new slice.
- Step 9 / Continue the dutch braid, adding in hair to the top, keeping it in line with the temple so it forms a horizontal braid towards the back of the head.
- Step 10 / Once the braid reaches the back tie it off with an elastic band.
Instructions continued…
- Step 11 / Now repeat the previous steps creating a second dutch braid on the right side of the head. Be sure to only add in one section to the bottom half of the braid while the top pieces are thin slices starting from the part.
- Step 12 / When the second braid reaches the first, at the back of the head, create a few more stitches of the braid and tie it off with an elastic band.
- Step 13 / Now tie the two braids together with an elastic band.
- Step 14 / Remove the individual elastics from each braid and carefully unravel them.
- Step 15 / Divide off a small section of hair, wrap it around the elastic and secure it underneath with a bobby pin.

Achieve perfectly undone and carefree hair with the help of the John Frieda® Beach Blonde® and Sheer Blonde® collections. The Sea Waves™ Salt Spray featured in this video texturizes for tousled styles, windswept waves or piece-y perfection all year round, while the Sheer Blonde® Colour Renew Tone Correcting Shampoo neutralizes brassy, orange tones as it cleanses.

Thank you to John Frieda® for partnering on this post.


Hi missy
I love this style!
http://www.wanderfreeblog.wordpress.com
xx