
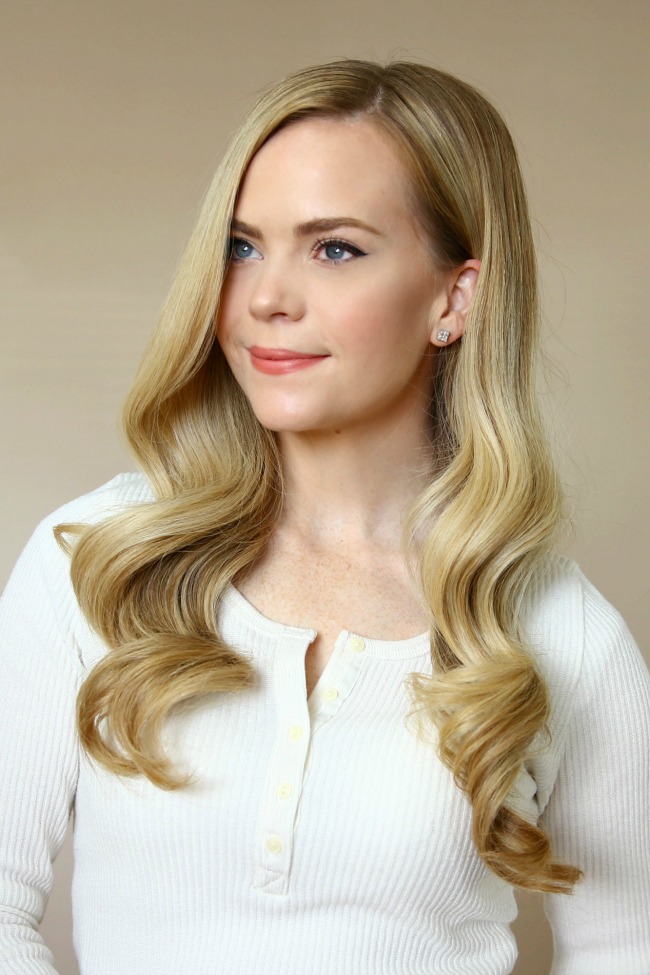
After watching a parade of wavy-haired starlets hit the red carpet this past award season, I’ve been feeling inspired to trade in my everyday curls for glamorous, Hollywood-style ripples. But there’s a specific technique to getting this type of polished wavy hair, and the way you use your curling is the key to making all the difference. Here is a quick and easy breakdown for creating those soft, sexy, waves at home.

Red Carpet Glam Waves Supplies:
- Agave Healing Oil
- Redken Smoothing Lotion
- Pro Beauty Ionic Dryer
- Kenra Professional Platinum Hot Spray
- Wide Tooth Comb
- Hair Band
- Pro Beauty 1 1/4″ Curling Iron
Red Carpet Glam Waves Instructions:
Step 1: For perfect curls every time, I love to start with clean, dry hair. This really helps give the curls extra volume and bounce because there are minimal natural oils to weight it down. Ideally, you should wait a day or two between washes to help keep your hair from drying out too badly. I love to wait three days whenever possible so this is a great way to prep my hair for the next few days.
Letting your hair air dry every so often is also a great way to keep it healthy. Abstaining from heat whenever you can is always beneficial and helps it grow long more evenly. To help maintain my length, I always apply Agave healing oil and Redken Smoothing lotion to my wet hair after washing it at night. This way it gets a little extra moisture plus a few hours in the evening and into the next morning to air dry without needing any additional heat.

Step 2: If it’s not completely dry when I’m ready to style it then I will blast it for a few minutes with the Pro Beauty Tools Ionic Blow Dryer. This dryer has become my all-time favorite because it’s lightweight and gentle on my hair. It features three different heat settings so I can choose how hot or cool to dry my hair. It actually dries my hair much faster than most dryers while exposing it to less heat. Not to mention it is quieter than other dryers I’ve used because of the ionic motor.
Style Tip: Switch the dryer to the coolest setting to finish and seal the ends of the hair. Because this hair dryer helps remove moisture quicker it also makes hair shinier, while adding volume and reducing frizz at the same time!


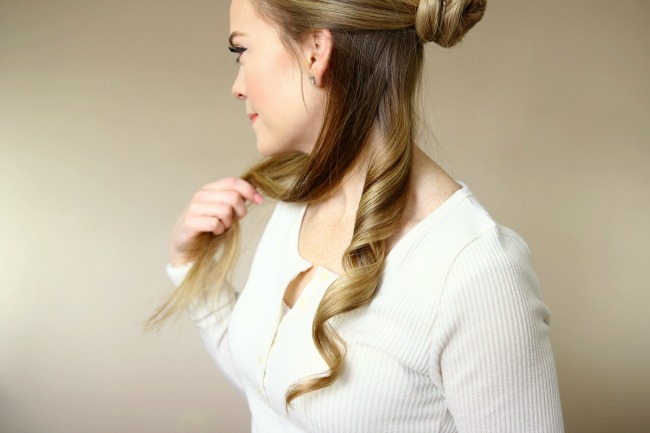
Step 3: Next, I always use a heat protectant spray to help minimize breakage from using hot tools. I am using the Kenra Professional Platinum Hot Spray to mist all over my hair before combing through it with a wide-tooth comb to help evenly distribute it. Then I separate my hair, from the top of the ears, and tie the top section into a bun.
Step 4 : Next split the hair hanging down into two equal halves; a left and right side. We will be curling each half a different direction so be sure not to skip this step!


Step 5: For the hair on the left side, we’ll be curling the hair towards the face so start by picking up a 2″ section of hair. Place the Pro Beauty 1 1/4″ Professional Curling Iron at the center of the section with the clamp behind it . Twist the curling iron towards the face, carefully wrapping the hair around the barrel.
Style Tip: Always start curling in the middle of the section because the ends are the most delicate so this helps protect them and limit the amount of heat they are exposed to.
Step 6: Slide the barrel towards the ends of the hair and wrap it back up vertically so the entire section is wound around the barrel. Once it feels warm to the touch, release the hair and let it cool hanging over the shoulder.
Step 7 : Now continue curling the hair on the left side in 2″ sections; ensuring each piece is curled towards the face.


Step 8: Moving on to the hair on the right side, place the curling iron over the center of a 2″ section of hair with the clamp in front of the section. Now twist the curling iron towards the back of the head, the opposite direction as the other side.
Step 9: Slide the iron down to the ends, rolling it back up vertically towards the back of the head, holding the section until it feels warm to the touch. Release the hair, letting it cool so it maintains its shape.
Essentially we are curling all the hair in a circular shape so it is all curled the same direction, in this case, clock-wise around the head.


Step 10: Let down a new section of hair, this time at the top of the ears, tying the top section into a bun.
This curling iron is great for all hair types because it has multiple heat settings allowing flexibility with how much heat is applied to the hair.
Step 11: With the 1 1/4″ curling iron, curl the hair on the left side towards the face, and the hair on the right side, away from the face.


Step 12: Let down the rest of the hair, splitting it into two halves, curling the left towards the face and the right side away from the face.
Style Tip: If your hair struggles to hold curl, let them cool off in your hand. Letting them stay tight as long as you can will help them last longer. I find that this really helps the curls set.
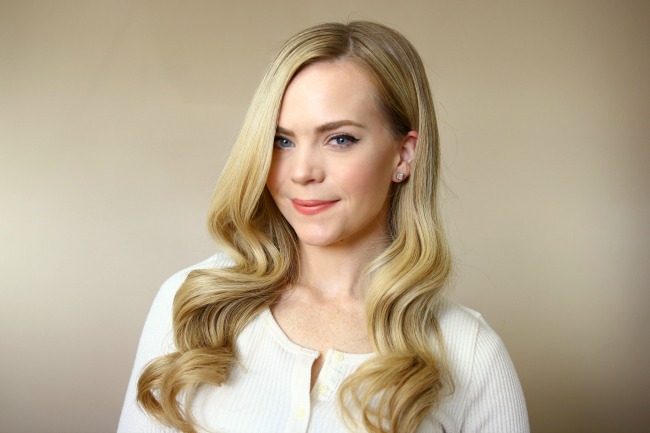
Step 13: Let the hair cool for a minute or two and then gently run the fingers through the hair to soften and combine the curls.
I swear by this curling iron because it creates gorgeous, voluminous curls that everybody loves. The barrel is 24k gold plated and this technology applies a direct heat to the hair so it curls each section more quickly, reducing the amount of time your hair is exposed to the heat and ensuring a 24 curl lock to keep those curls looking great all day! It also works especially well if you have longer hair. Prepare for the compliments whenever you use this curling iron!

Step 14: To finish the style, tuck a bit of hair on the left side behind the ear and mist the style with a medium-hold hairspray to set it.

 If you’re on the hunt for your next favorite curling iron, look no further than Pro Beauty tools. My favorite is this 1 1/4″ curling iron because not only is it gentle on the hair, it always creates that perfect curl. Along with the other great features such as the ergonomic handle, cool tip, and professional swivel cord, my favorite feature is the multiple heat settings so it works on all hair types. Whether you want a tight curl or loose wave, these beauty tools are the best!
[show_shopthepost_widget id=”1385419″]
Thank you to Pro Beauty Tools for sponsoring this post!f
Hi, my name is Sammie Seibert! I was wondering if I could have your permission to use your tutorial as a reference for an article that I am writing about date night hairstyles. Thank you! Hope to hear from you soon.
Sure, that’d be great, thanks! (:
I tried to do this today but my hair would just crease where the clamp sat and not curl. I have very fine thin hair so I have to be careful with heat. I stopped trying after several attempts. Any advice?
What brand and shade of lipstick and blush are you wearing?? Love em!!
The lipstick is MAC ‘Boldly Bare’ Lipliner and Revlon Ultra HD Matte Lip color in ‘Seduction’ + The blush is BareMinerals Ready blush in ‘The Love Letter’
Gorgeous! I have a question — how do you sleep on your hair when you’re preserving curls for a day or two? Do you put it up? Thanks!
Thank you! I sleep on a satin pillowcase and use a smaller curling iron like a 1″ instead of my usual 1 1/4″. This helps the curls last without putting my hair up.