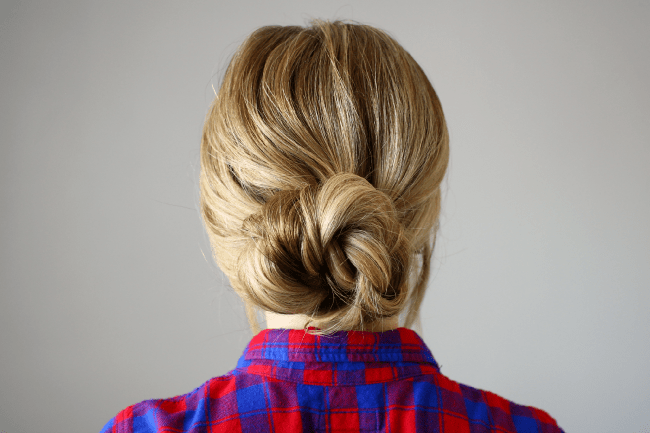
 This low bun is great for days when you need your hair off your face and out of the way, or away from little baby hands in my case. Braiding the hair before wrapping it into the bun can make it look more difficult than it actually is while still ensuring it is easy to do. The best part is that every time you do it, it’ll look a little bit different depending on how tightly or loosely you braid the hair.

To ensure it lasts all day, wrap the hair into a ponytail before braiding it. This will give it a good anchor for the pinning part.
Want more bun inspiration? Check out these tutorials too!

Quick and Easy Braided Bun Supplies:

Quick and Easy Braided Bun Instructions:
- Step 1 / Brush through the hair to remove any tangles. Braid all the hair into a single braid. Tip: For all day hold, tie the hair into a low ponytail before braiding it.
- Step 2 / Tie off the end of the braid with an elastic band.
- Step 3 / Wrap the hair towards the left side.
- Step 4 / Wrap the end of the braid towards the right side, creating an upside U-shape.
- Step 5 / Bring the end of the braid back down to where the braid started, tucking the end underneath it.
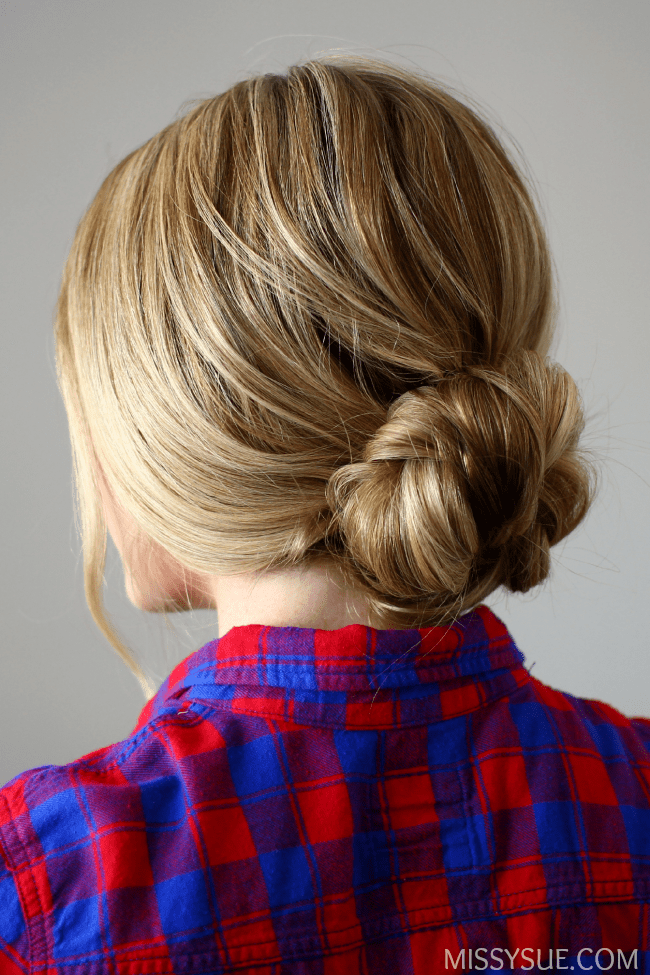
- Step 6 / Pin along the edge of the bun until it feels secure against the head.
- Step 7 / Gently pull on the edges of the bun to make it fuller.
- Step 8 / Spray the style with a firm-hold hairspray to help it stay throughout the day.

Beautiful :) Thank you for the tutorial!
Love it