Ah yes, the Dutch Fishtail French Braid. I feel like this tutorial is long over due; like months overdue. It always takes me longer to create the basics behind an intricate hairstyle. Whenever I see a cool concept I immediately try to take it one step further to make it a little more original. This hairstyle is a perfect example because it’s the exact same concept except the braid begins behind the head. The Waterfall and Inverted Fishtail Braid is another great example because it’s the same concept but also incorporates a waterfall braid to take it that one step further. Needless to say I hope this “basic” tutorial for a dutch fishtail french braid is super helpful and teaches you how to create another cool version of the ever chic fishtail braid!

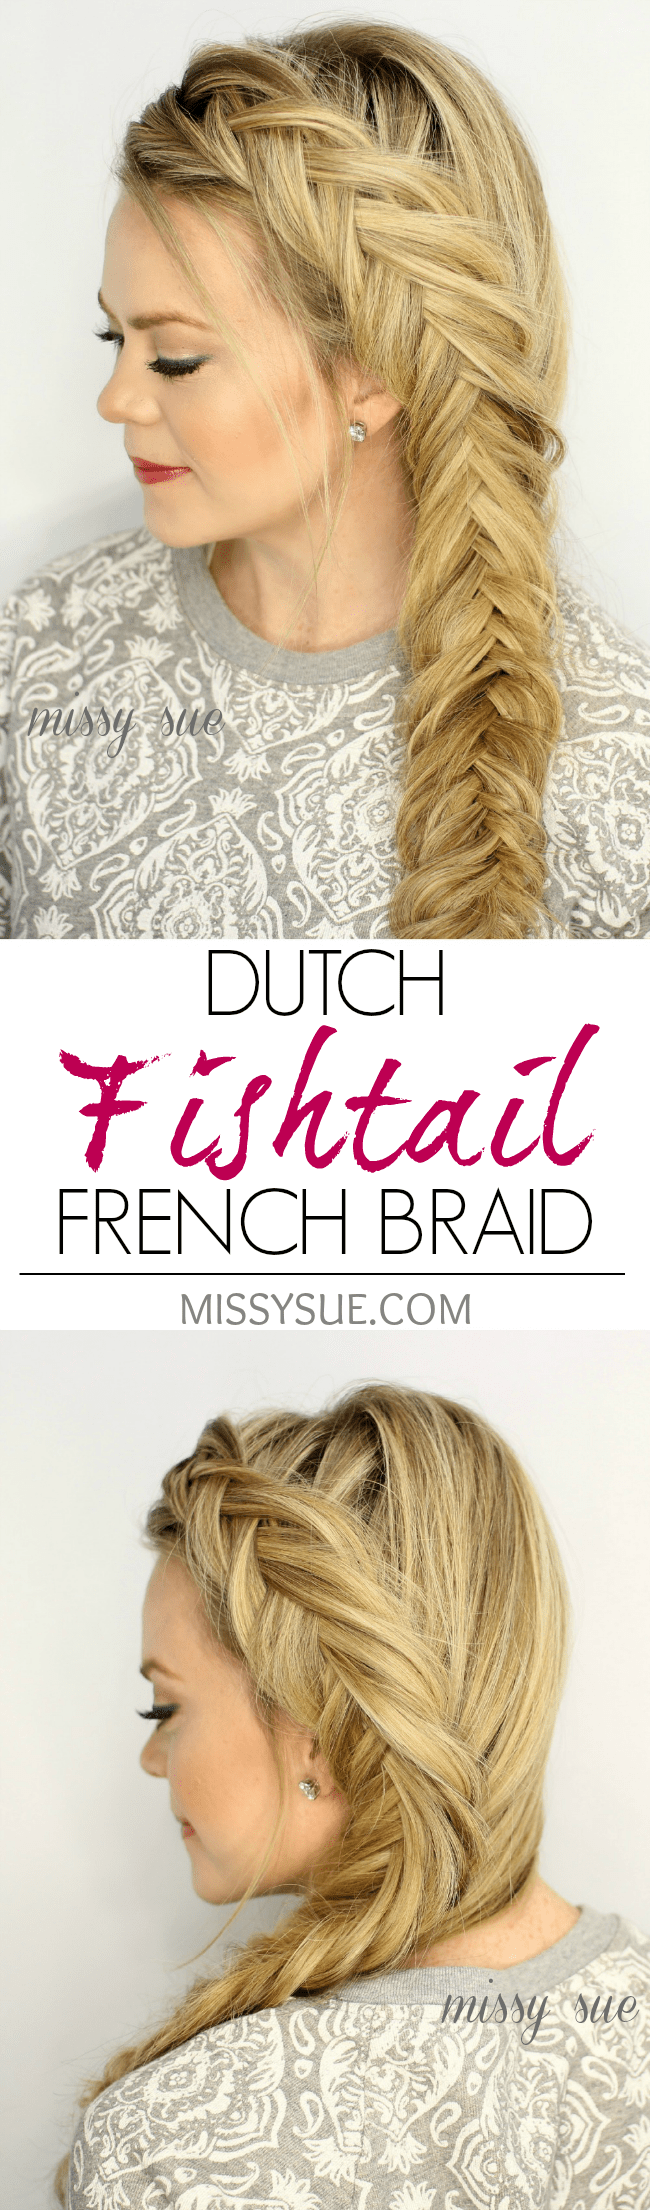
Dutch Fishtail Braid
- Step 1 / Begin by creating a part on the right side.
- Step 2 / Sweep all the hair over the left shoulder.
- Step 3 / Pick up a 3″ section of hair along the part, on the heavy side, and divide it into two halves.
- Step 4 / Take a small piece from the back section, cross it underneath and add it to the front section.
- Step 5 / Next, take a small piece from the front section, cross it underneath, adding it into the back section.
- Step 6 / Cross a section from the back underneath to the front and then pick up a section of hair, crossing it underneath and adding it into the previously crossed section. *This method is the same as doing a dutch braid where hair is brought in. The two main sections is how the fishtail effect is created.
- Step 7 / Next cross a section from the front underneath to the back, bring in a section, crossing it under as well.
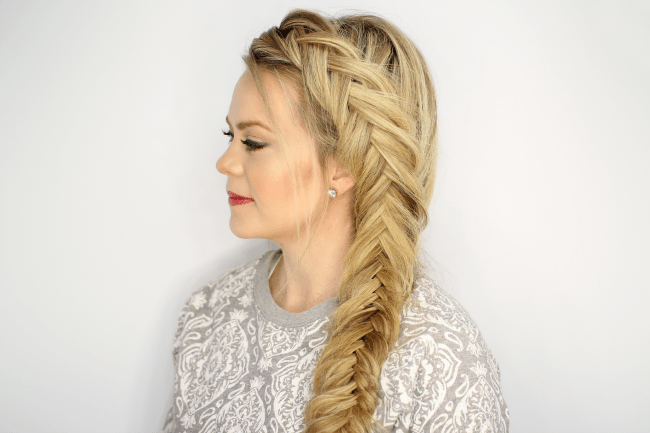
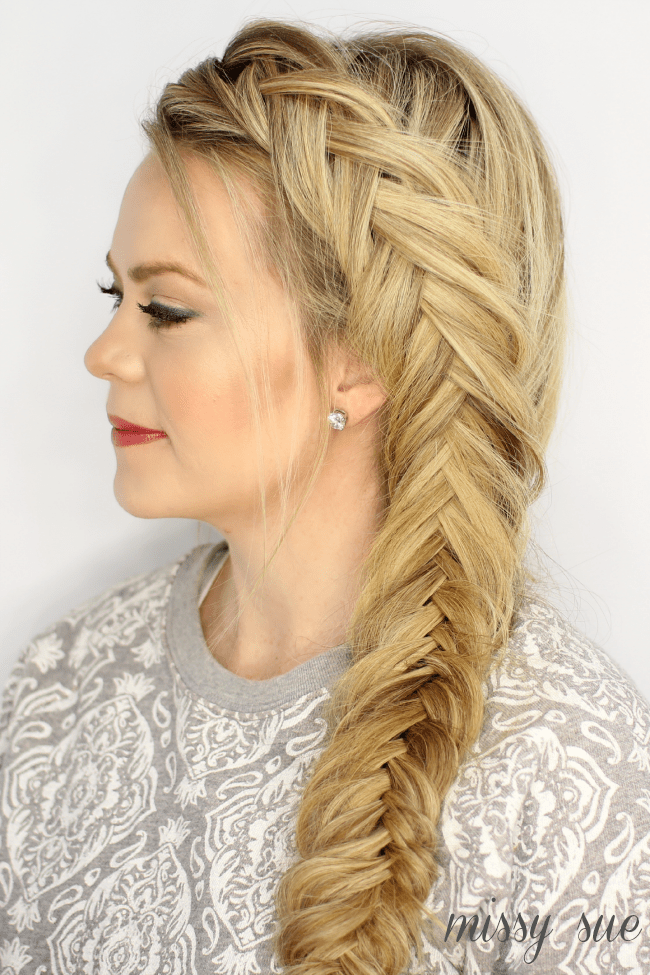
- Step 8 / Now repeat steps 6 and 7 crossing sections underneath and bring in hair until all of the hair is incorporated into the braid. *Be sure and keep the braid along the hairline, trailing down the side of the face.
- Step 9 / When all the hair is brought in, finish in a regular fishtail braid.
- Step 10 / Tie off the end with a hair elastic.
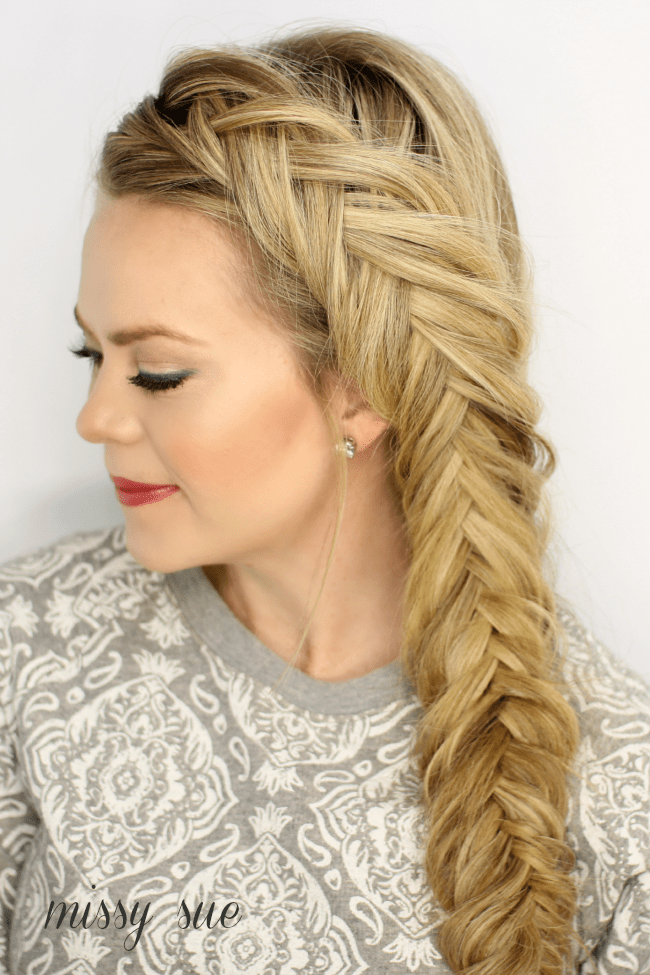
- Step 11 / Now, gently loosen the edges of the braid by pulling the edges out of the hair band. This creates the big, full braid that is so popular everywhere!
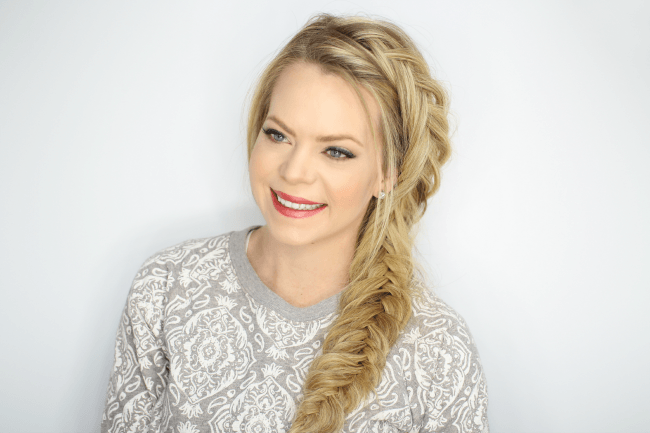
- Step 12 / Smooth down any flyaway with a medium hold hairspray and pull hair loose around the face to frame it.
Beautiful, and very helpful! ?
Hi missysue! Love this hairstyle! Though I can’t do it as cute and elegant as you, but I <3 it anyway! Thanks for the tutorial?
Xoxo, Gigi:)
For slightly shorter hair would you recommend stopping it and turning it into a bun? Some of the hair on the other side of my head won’t reach all the way. Thanks!
Hi MissySue.. You and your hair looks so beautiful. But, I want to know the mark of your sweater. Because, the sweater
is so beautiful, too.
Thanks.. I’m following you every time.
Thank you! It is from J.Crew
Perfect for my dance rehearsal. Very elegant as well
Love this hairstyle, she is very sweet and explains how to do it very well. For sure going to try this. My hair is layered so I will probably have a bit of a probkem with some shorter ends. Looks great on her!
Hi! I have a question, do you use additional strands of hair? Thanks.
P.S. Sorry for mistakes, english isn’t my native language)
I often wear hair extensions in my tutorials (: thanks!
Missy, you look so beautiful! I would love to know how you did your eye make up for this tutorial!
Hi Breleigh, I put my contour shade in my crease and used a green eyeliner from Rimmel called Ivy ((:
Thanks for sharing! :)
gosh dangit, i need to do these -_- hahah
gorg Missy! <3