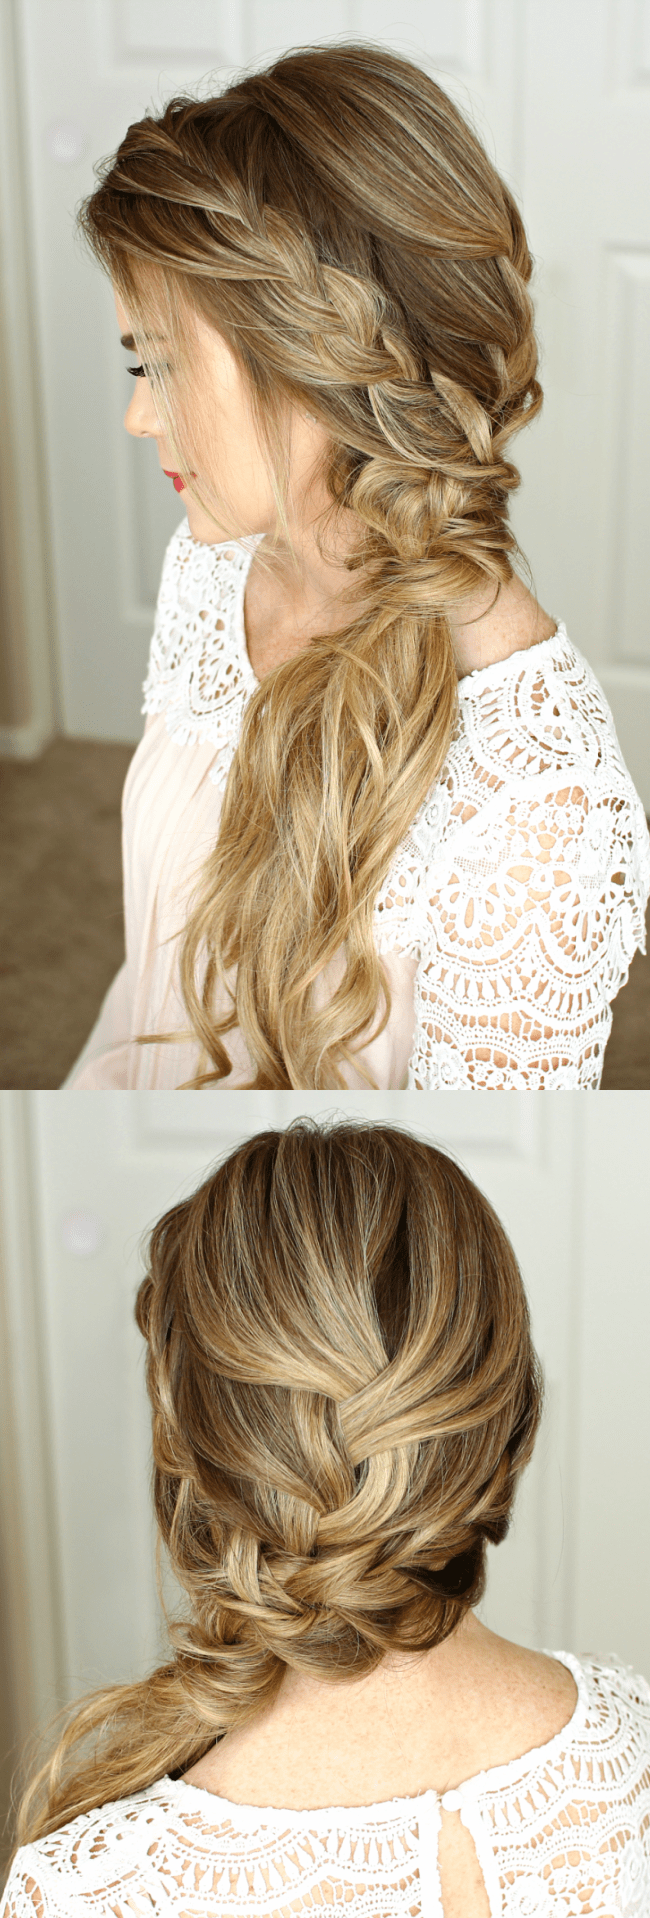

Prom is coming up and I’ve had so many requests for hair tutorials! I always post updos so I wanted to change things up and post something new. Last week I shared a simple half up style that I think would be so pretty for prom and today’s tutorial is this sideswept style! What other hairstyles would you love to see? I feel like I ask that a lot but I get so many good ideas whenever I do! Thanks so much for reading! xo, Missy

Braided Side Swept Prom Hairstyle Supplies:
- Prep: 1 1/4″ curling iron
- Luxy Hair Extensions – use code LUXYMISSYSUE for $ off
- Rattail comb
- Bobby pins
- Clear elastic band
- Medium-hold hairspray

Braided Side Swept Prom Hairstyle Instructions:
- Step 1 / Start by parting the hair on the right side though you could part it on the left if you prefer that more.
- Step 2 / Now divide off a section of hair at the middle of the back of the head and clip down the hair on both sides. We’re creating three braids so you just want to make sure to keep the hair separated.
- Step 3 / At this point I went ahead and clipped in two hair extension wefts to add a bit of extra length and thickness to this hairstyle. You can still achieve this style without them so you can skip this step if you prefer.
- Step 4 / Now divide off a section of hair at the crown and split this piece into three sections.
- Step 5 / Begin a french braid by crossing the side strands over the middle strand while adding in hair on both sides.
- Step 6 / Continue the french braid down the back of the head and stop bringing in new hair when it lines up with the ears.
- Step 7 / Then braid a few more stitches of the braid and slide a bobby pin over the end so it doesn’t come loose.
- Step 8 / Now create another french braid with the left section of hair. Add in new hair until it reaches the ear. Then braid a little further down and slide a bobby pin over the end.
- Step 9 / Now create a third french braid down the right side of the head. Curve the braid around the nape of the neck, following under the middle braid.

Instructions continued:
- Step 10 / Once hair is brought in from the left side, stop adding in new hair and just braid a few more stitches of the braid. Then slide a bobby pin over the end.
- Step 11 / Now take the right braid and lay it over the middle braid.
- Step 12 / Pin it in place with several bobby pins. You can use as many as you need for this because it’s important to make sure it feels nice and tight so it doesn’t fall loose.
- Step 13 / Then take the left braid and lay it over the middle braid. Create a gap in the right braid and pull the left braid through the gap.
- Step 14 / Then slide in a bobby pin so the braid stays in place.
- Step 15 / Next take a small section of hair and wrap it around all of the hair.
- Step 16 / Wrap a clear elastic band over all of the hair, including the ends of the wrapped piece. This is what will hold the wrapped piece in place as well as the rest of the hair so the braids don’t unravel.
- Step 17 / Then gently loosen the wrapped piece so it’s softer and less obvious where it’s been tied.
- Step 18 / Spray the style with a medium-hold hairspray and smooth down any flyaways.

Shop for supplies:
[show_shopthepost_widget id=”2525355″]
Perfect tutorial! Did my daughter’s hair for homecoming just now and it turned out beautifully. Thank you! I’d post a pic if I could. It’s mature enough for high school but doesn’t make her look like she’s trying too hard.