
 Love a traditional ponytail but feel like you’re ready for something new? Today’s tutorial will show you a super easy way to make your everyday ponytail a little extra glam. Even the simplest styles start with a little preparation beforehand so I’ll also be showing you how to get those trendy, everyday waves using the Pro Beauty Tools Professional 1″ XL Curling Wand.
Check out the video tutorial below and I’ve also broken it down into simple steps so you can easily recreate this look at home! Don’t forget to share it with your besties who will definitely love it too!
Supplies:
Rattail Comb
Hair claw or clip
Pro Beauty Tools Professional 1” XL Curling Wand
1 Elastic band
4-6 Bobby pins
For perfect curls every time, I love to start with clean, dry hair. This really helps give the curls extra volume and bounce. Wand curls are best for this type of look and to achieve them I’m using the Pro Beauty Tools Professional X-Long 1” Gold Curling Wand. Curling the hair with this wand will help shape the style and make it look more done up at the end.
I love this one because of the extra long barrel, making it easy to curl my long hair. Along with the other great features such as the ergonomic handle, cool tip, and professional swivel cord, my favorite feature is the multiple heat settings so it works on all hair types. Whether you want a tight curl or loose wave, these beauty tools are the best!
Step 1: Brush or comb through the hair to remove any tangles. You can also apply a heat protectant spray at this point to help minimize breakage from using hot tools. Then create a center part which will help the curls set better for the hairstyle.
 Step 2: Then divide the hair at the top of the ears and clip up the top section. Separate off a small 1” section of hair and place the Pro Beauty Tools XL Curling Wand behind the section. Wrap the hair away from the face around the barrel working down towards the ends of the hair.
Style Tip: Instead of wrapping each section all the way to the ends, leave off the last 1” of hair, holding it away from the barrel instead. The ends are the most delicate so this helps protect them and limit the amount of heat they are exposed to.


Unlike traditional wands this curling wand has an extra 2” which makes it easier to curl longer hair from root to tip without any overlapping. This means the hair will curl more quickly because each section is heated more evenly!
Step 3: Hold the section for 5-8 seconds, or until it feels warm to the touch, before releasing the hair and letting it cool.
Step 4 : Continue curling small sections of hair in this bottom layer until all of the hair is curled.
Step 5: Let down a new section of hair, this time right about the ears, clipping up the top section.
 Step 6: Continue dividing off small, 1” sections of hair and repeat the previous steps wrapping each section around the wand, curling the hair away from the face.
This curling wand is great for all hair types because it has multiple heat settings which allows flexibility with how much heat is applied to the hair.
Step 7: Let down the rest of the hair, and continue curling the hair away from the face, holding each until it feels warm to the touch and allowing each curl to cool before touching it.
 Style Tip: If your hair struggles to hold curl, let them cool off in your hand. Letting them stay tight as long as you can will help them last longer. I find that this really helps the curls set.
My favorite thing about this wand is the gold plated barrel which provides direct heat for a 24 hour curl lock. This helps your curls hold from morning to night which is a definite must for every girl who wants to get professional results at home.
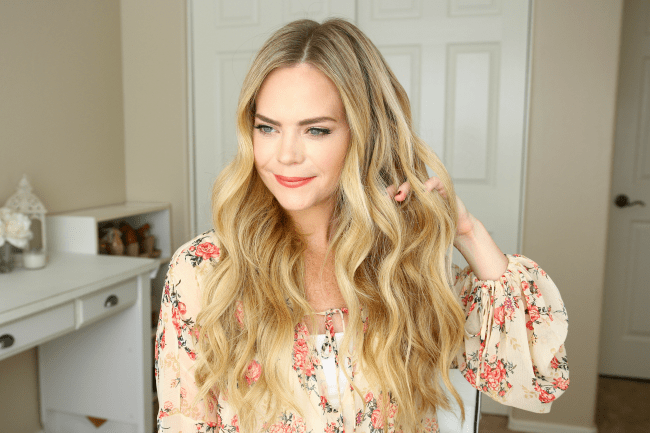
Step 8: After all of the hair is curled, let it cool for a minute or two and then gently run the fingers through it to soften and combine the waves.

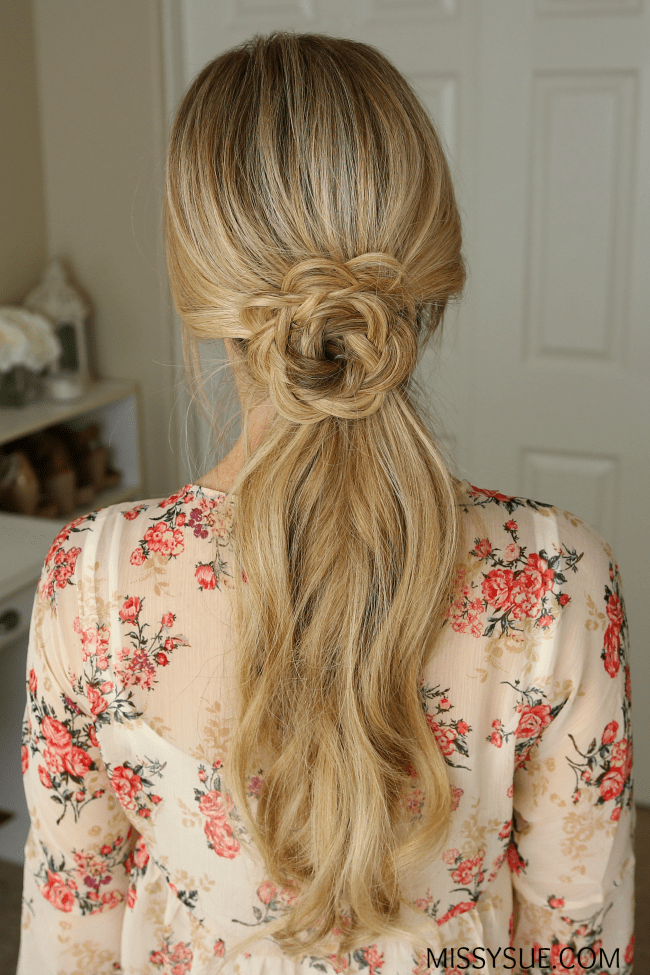
 Flower Embellished Ponytail Instructions:
Step 1: Moving on to the braided portion, start by parting the hair where you normally prefer. I’m putting mine on the left side.
Step 2: Then divide off a small section of hair at the nape of the neck on both the left and right side.
Step 3: Bring the two sections together over the rest of the hair and tie them with an elastic band.
Step 4: Divide off a small section of hair, including this wrapped piece, and we’re going to braid the section into a regular three strand braid.
Step 5: When the braid reaches the ends wrap it into a spiral, click-wise, over the elastic band.
Style Tip: Make sure to lay the braid flat as you wrap it because this will help the flower show up better at the end.
Step 6: Tuck the ends underneath the braid and grab some bobby pins, sliding them into the base of the spiral. I weaved my bobby pins through the braid as I slide it towards the center of the spiral to help grip the hair from the braid while also hiding it underneath.
Step 7: Pin the braid all the way around until it feels nice and secure.
Step 8: Now go back and gently pull on the very outer edge of the spiral to create the flower.
Step 9: Set the style with hairspray and that is the last step!
 I love this look because it’s a super cute way to embellish your traditional ponytail while still keeping your look soft and feminine. If you’re on the hunt for your next favorite curling wand, look no further than Pro Beauty tools.
Thank you to Pro Beauty Tools for sponsoring this post.
I love this!
I did this hairstyle last night, and it was so, so pretty! Came together super easy and yet looks so intricate. Thank you so much for sharing!