

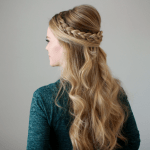
This braided headband is such a cute and simple style. It can easily be worn casually with your favorite cozy sweater or dressed up with skinny jeans and heels for a dinner out. This headband style is easy to recreate because it only requires braiding two small sections of hair and wrapping them over the head. You can wear it with straight or your favorite curls while looking stylish every day of the week.
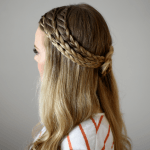
Need more hair inspiration? Check out these other great braid embellished styles!
-
- Dutch Braid Embellished Half Updo
-
- Triple Lace Braided Rosette
-
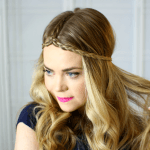
- Festival Hair

Braided Headband Supplies:
- Paddle Brush
- 2 Clear elastic bands
- 4-6 Bobby pins
- 1 1/4″ Curling Iron
- Medium-hold Hairspray

Braided Headband Instructions:
- Step 1 / Brush through the hair to remove any tangles before parting it where you normally part it. I’ve got mine on the right side.
- Step 2 / Next create a vertical part, 2″ back from the hairline, from the part down to the left ear.
- Step 3 / Now create a horizontal part at the middle point of the vertical part, clipping away the top half.
- Step 4 / Separate off a 2″ section of hair directly below the clipped off section. This is what we will use for the braid.
- Step 5 / Braid the section into a regular braid by crossing the side strands underneath the middle.
- Step 6 / Tie off the end of the braid with a clear elastic band.
- Step 7 / Now repeat the same steps on the right side of the head, separating out a small section and braiding it to the bottom.
- Step 8 / Wrap the braid from the left side over the head, making sure it sits about 1″ back from the hairline.
- Step 9 / Secure the braid with a bobby pin by sliding the pin into the middle of the braid and pushing it upwards towards the top of the head. Use 1-2 bobby pins to ensure it stays tight against the head.
- Step 10 / Then lay the braid on the right side over the head, setting it in front of the previous braid.
- Step 11 / Secure the second braid with 1 or 2 more bobby pins.
- Step 12 / Let down the hair sectioning clips and smooth the hair down over the ears to hide the beginning of both braids.
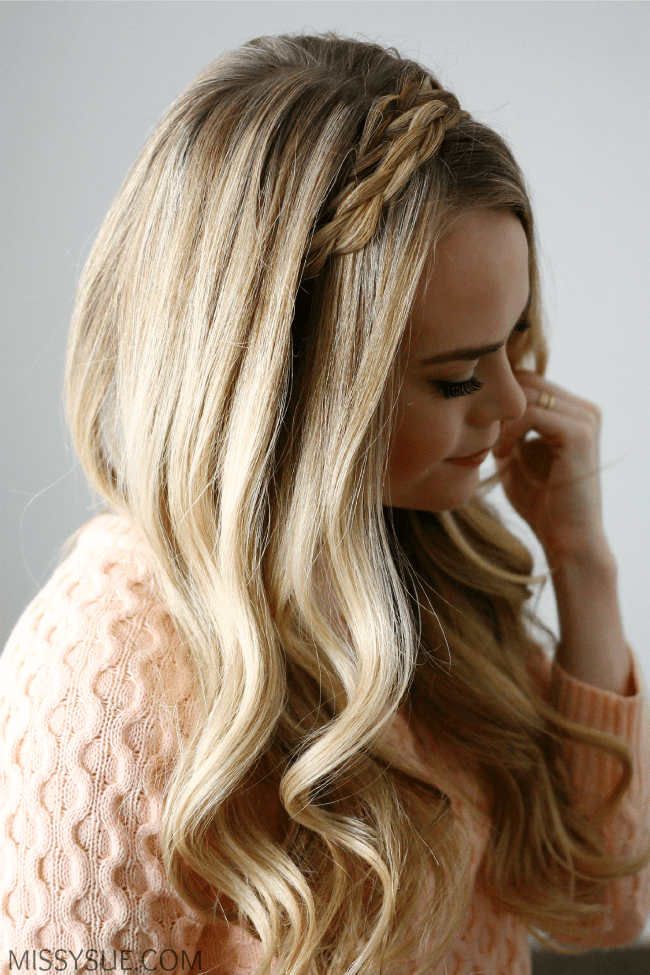
- Step 13 / Adds some curls to the ends of the hair using your favorite curing iron. I love the 1 1/4″ curling iron from Pro Beauty for every day curls.
- Step 14 / Spritz your fingertips with hairspray and smooth down flyaways near the part and around the face.

I’m dying to try this style when my extensions come in!
Courtney
Roses & Rouge Lifestyle Blog
http://www.rosesandrouge.org
Instagram: @rosesandrouge_