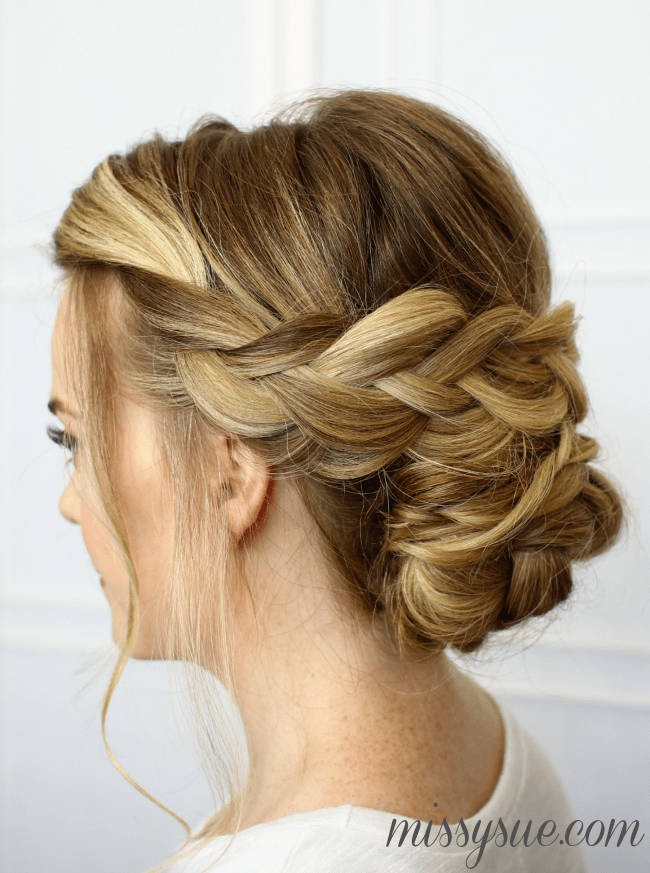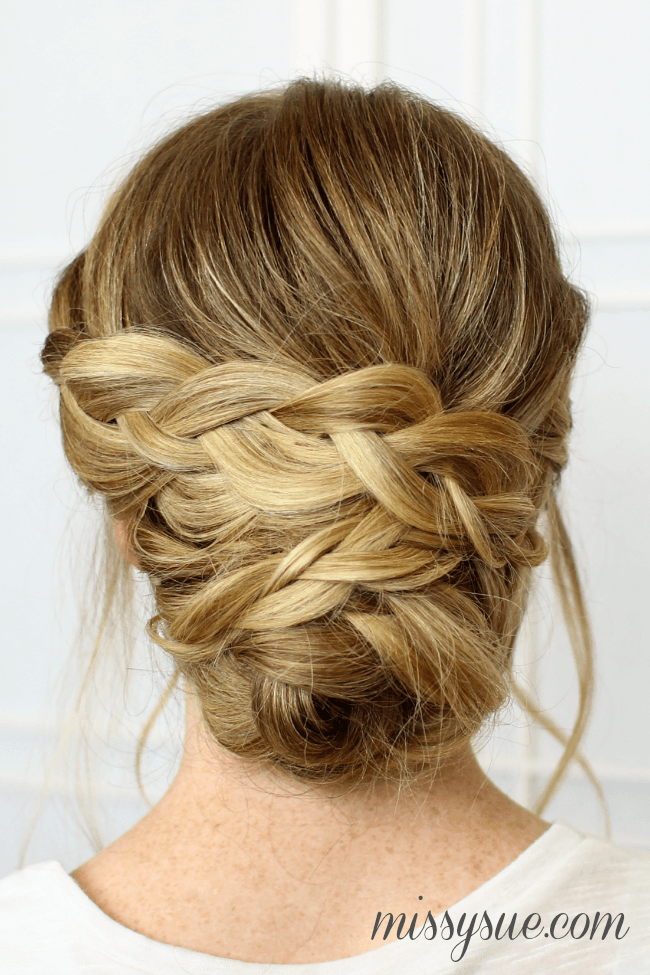
This updo is done a little more intricately than my usual hairstyles. By that I mean it’s broken down into a few extra steps by creating and wrapping a number of different braids to strategically overlap one another. It would be a beautiful hairstyle to wear on a number of special occasions, whether it be for a school dance, a wedding, graduation, birthday, anniversary, or just a fun night out.
I think this style could be done just as easily with less braiding and wrapping but it was fun for me to stretch my abilities a little bit and create this pretty hairstyle that I literally can’t wait to recreate and wear again. I’d love to hear your thoughts on the process of creating it after you’ve watched the tutorial. I hope you had a wonderful 4th of July, if you celebrate the holiday! xo, Missy
- Step 1 / Begin by sectioning off the front section of hair along the hairline. Draw a line from the part down to the left ear and down to the right ear and clip off the front section of hair at the top of the head.
- Step 2 / Create a second section directly behind the first, from the part down to the left side of the nape of the neck and place this section over the left shoulder.
- Step 3 / Now create a similar section on the right side.
- Step 4 / With the remaining hair at the back of the head, divide it into a top and bottom section, with the top section slightly smaller, and clip the top piece out of the way.
- Step 5 / Combine the bottom section into a low ponytail near the nape of the neck with a clear elastic band.
- Step 6 / Let down the section of hair clipped away directly above the ponytail.
- Step 7 / Smooth out the section with a comb and then gently twist it together, placing the twist on top of the elastic band of the ponytail.
- Step 8 / Slide two bobby pins into the twist creating an “X” shape to hold it in place.
- Step 9 / Take this section of hair now laying over the ponytail, combine it with the hair from the ponytail, and braid it together into a regular three-strand braid. Tie off the end with a clear elastic band.
- Step 10 / Wrap the braid clock-wise, over the bobby pins and clear elastic from the ponytail, and into a bun. Secure the edges with 2-3 bobby pins.
- Step 11 / Take the hair over the left shoulder and divide it into two sections. Braid the back-most section into a three-strand braid and wrap it clock-wise over the top of the bun, securing it in place.
- Step 12 / With the hair over the right shoulder, divide it into two sections and braid the back-most section. Wrap it clock-wise around the bun as well and pin it in place.
- Step 13 / Now take the remaining hair, over the right shoulder, braid it, and wrap it counter-clockwise over the bun, securing it with bobby pins.
- Step 14 / Braid the remaining section, hanging over the left shoulder, and wrap it clock-wise over the bun, pinning it in place.
- Step 15 / Now let down the hair clipped at the top of the head, the hair along the entire hairline, and part the hair where you normally part it. I part mine in a deep side part on the right.
- Step 16 / Braid the hair on the right side into a regular three-strand braid, wrap it over the bun in a counter-clockwise motion, and secure it with bobby pins.
- Step 17 / Wrap the very last section of hair, on the left side, into a braid, wrapping it clock-wise over the bun and securing it with a few bobby pins.
- Step 18 / Spray the style with a maximum-hold hairspray and smooth down any loose hairs with your finger tips.


The wispy braid low bun is soft and beautiful
I love this! I think I found my wedding hairstyle! It actually doesn’t look that difficult to do either! Thank you for your wonderful video :)