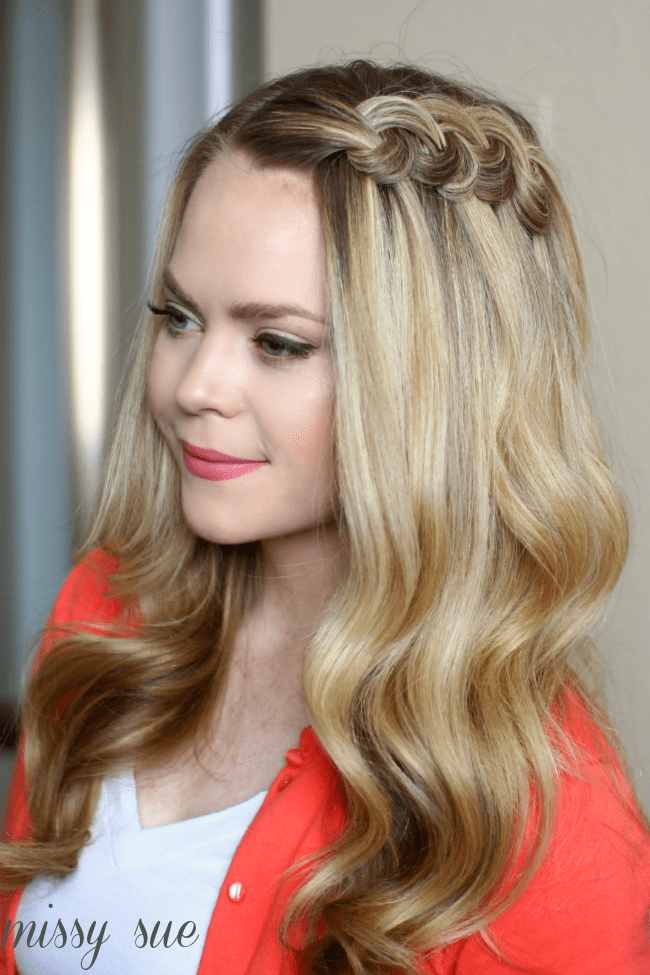
I recently came across a picture of the most gorgeous braid. It looked so intricate and I could not figure out how it was done. Luckily, Cinthia created a tutorial for the hairstyle and I fell head over heels for it. I decided to take that as inspiration for this headband braid. It is super easy to do and you will love how pretty and unique it looks. No braiding required and can be done in a matter of minutes. Try it out, I promise you are going to love it!
Swirled Knot Braid Instructions:
- Step 1 / Begin by parting the hair where you naturally part it; I have mine on the right side.
- Step 2 / Pick up a 1″ wide section of hair on the heavy side of the part.
- Step 3 / Now pick up another section of hair, behind the first one, that is about the same size.
- Step 4 / Cross the back strand over the first strand, leaving a gap between the two pieces.
- Step 5 / Reach inside the gap and pick up the tail of the strand that was crossed over.
- Step 6 / Pull the strand up and through the space.
- Step 7 / Carefully pull the strands apart so the knot lays flat against the head.
- Step 8 / Secure the strand that is hanging downwards with 1-2 hair pins.
- Step 9 / Pick up a new section of hair behind the knot; this is the new back strand.
- Step 10 / Repeat steps 4-9 until four knots are made.
- Step 11 / Secure the last strand so the knots stay in place all day.
- Step 12 / Spray the hair with a medium hold hairspray and smooth down any stray hairs.


Do you use any hair products to make your hair fuller or do you have naturally thick hair? How do you prep your hair before you braid it?