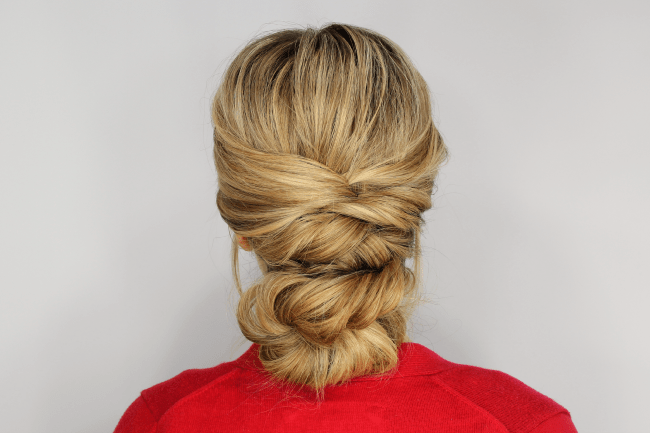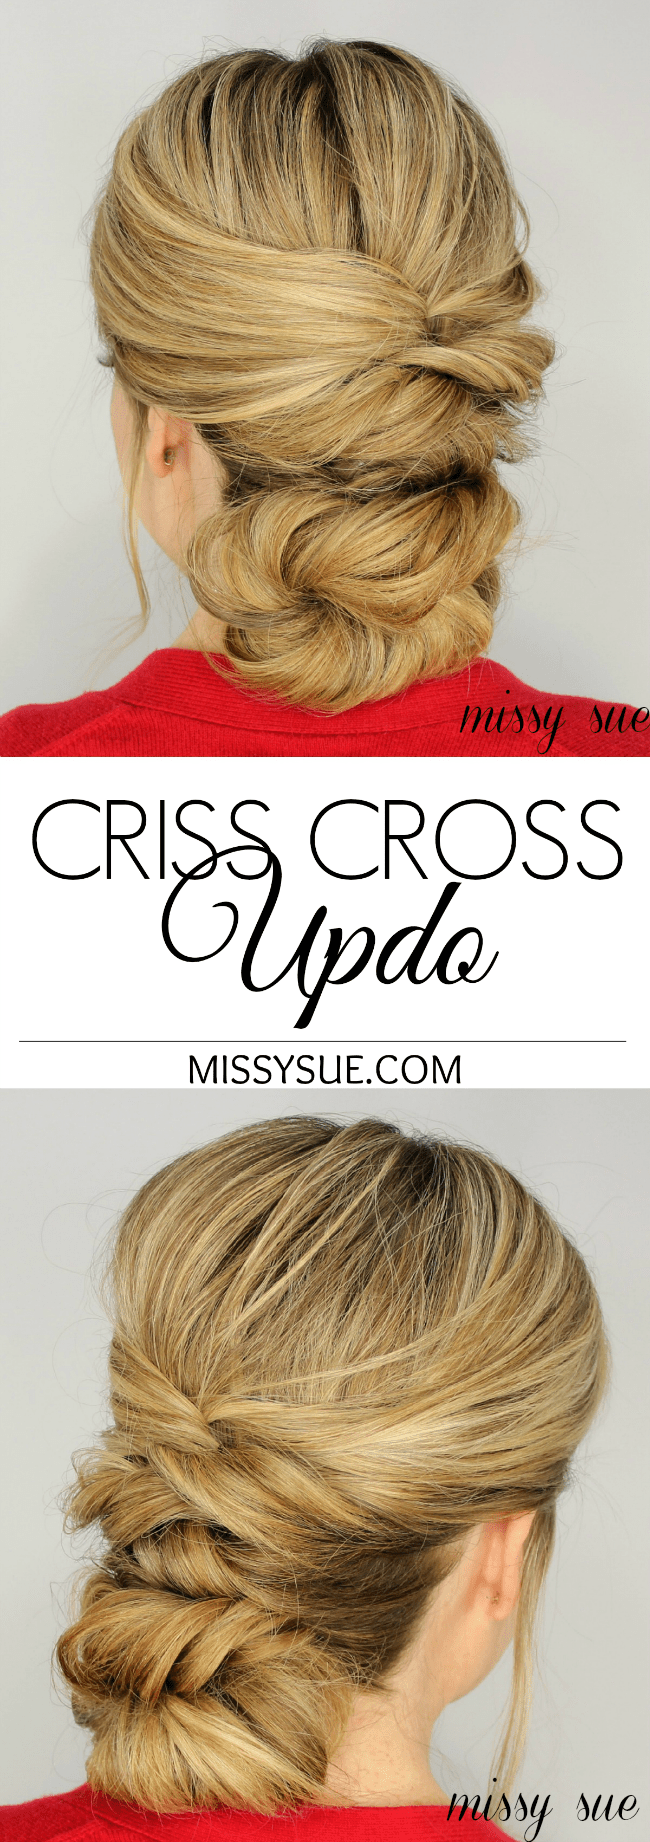
The best updos are easy to do and stay in all day. This criss cross updo is exactly that. It looks more difficult than it actually is which is always a bonus too.
To achieve the look, sections of hair are twisted across the back of the head and then secured with an elastic band. No head full of hair pins here! Those always tend to fall out or loosen up especially when we’re going-going all day long at an event or special occasion.
Jump down to the tutorial and let’s get started! You’ll be amazed at how easy this really is!


Criss Cross Updo
- Step 1 / Start by picking up a section of hair, above the ears on both sides of the head, and bring them towards the back.
- Step 2 / Cross the left side over the right and then twist the hair one more time.
- Step 3 / Pin down the section with one or two hairpins.
- Step 4 / Pick up another section, on the right side, below the first section and twist it upwards wrapping it around the back of the head.
- Step 5 / Pick up a small piece of hair on the left side of the head, combine it with the twist and tie them together with an elastic band.
- Step 6 / Now repeat steps 4 and 5 with a section of hair on the left side, wrapping it across and tying it with a small piece of hair.
- Step 7 / Then repeat the steps two more times with hair on each side of the head, alternating sides.
- Step 8 / Next, twist the remaining hair together and wrap it around itself into a low bun at the nape of the neck.
- Step 9 / Pin down the bun with hair pins and smooth down any flyaways with hairspray.
Beautiful and I think I can really do this!
This is beautiful! Could you add a few photos of steps 2-5? I am not sure I am visualizing it correctly. Thanks.