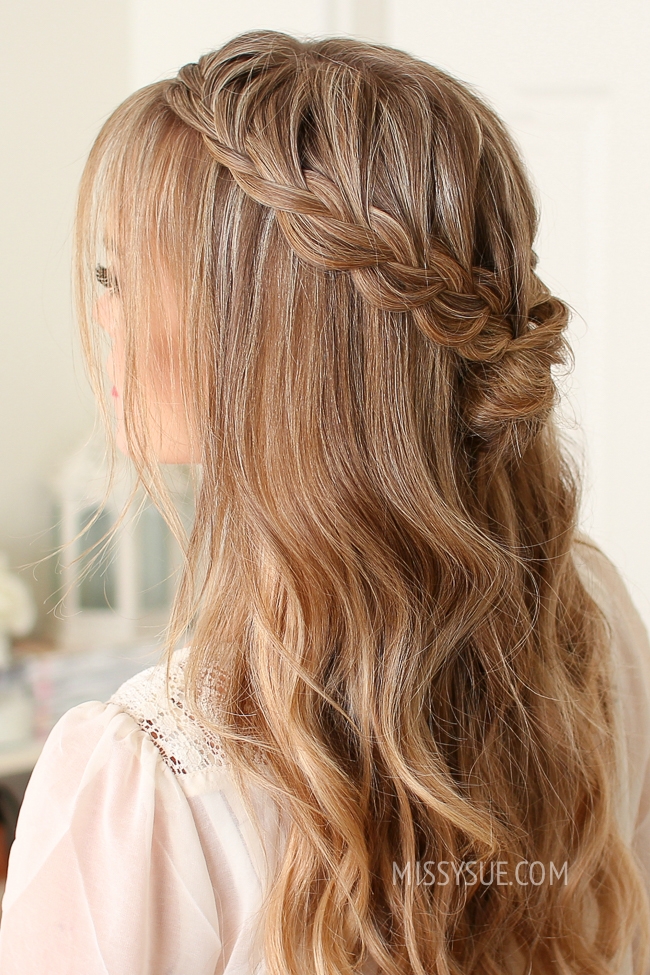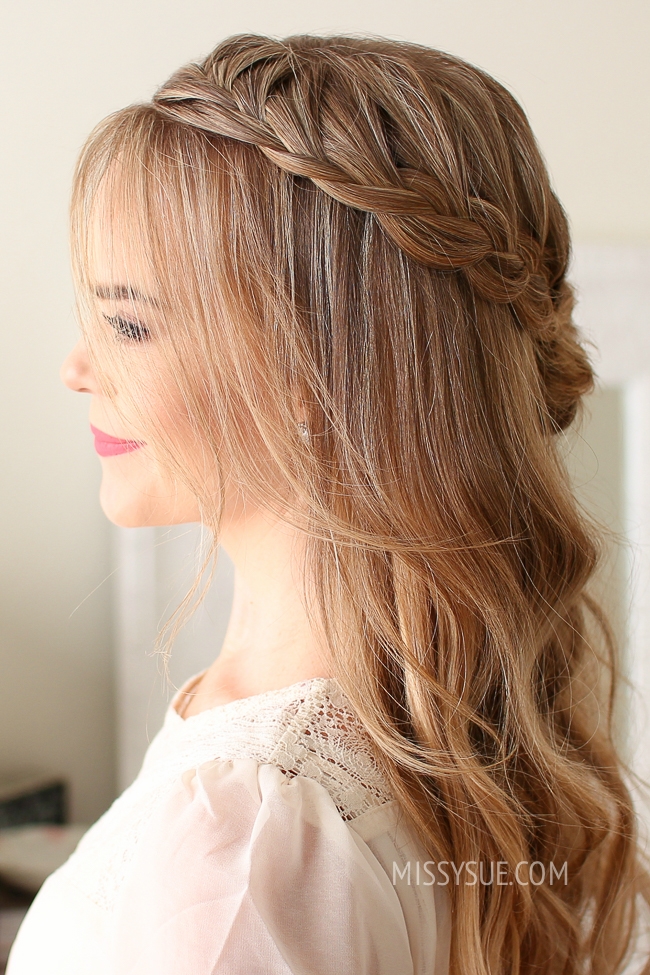
This style has been catching my eye all over the place so I couldn’t resist creating my own tutorial for it. I think this is such a cute look for Spring and half up braids are so pretty and fun. This hairstyle starts out like french braids, turns into lace braids, finishes with a cute little bun and has such a girly, bohemian vibe that I love. Thank you so much for reading! xoxo, Missy
Half Up Lace Braid Mini Bun Supplies:
- Rattail comb
- 4 Bobby pins
- Elastic band
- Medium-hold hairspray
Half Up Lace Braid Mini Bun Instructions:
- Step 1 / Begin by parting the hair where you normally prefer. I’m placing my part on the right side.
- Step 2 / Divide out any hair to frame the face. Then pick up a small section near the part for the braid.
- Step 3 / Divide this section into three pieces and begin by crossing the right strand over the middle and then the left strand over the middle.
- Step 4 / Now cross the right strand over the middle, pick up a new section of hair and bring it into the middle strand.
- Step 5 / Then cross the left strand over the middle, picking up a new section and cross it over and into the middle strand.
- Step 6 / Repeat those steps once more crossing the side strands over the middle strand while bringing a new section into the braid.
- Step 7 / Now continue the braid but only add new pieces of hair into the top side of the braid. So continue crossing the left strand over the middle but don’t add in any new sections on this side of the braid and this technique will create the lace braid.
- Step 8 / Repeat those steps only adding in hair from the top of the head until the braid reaches around to the center of the back of the head.
- Step 9 / Then braid the hair a little further down and cross two bobby pins over the ends.
- Step 10 / Now repeat those same steps and create a second lace braid on the right side of the head doing three stitches of a regular french braid and then only adding in hair from the top of the head to create another lace braid.
- Step 11 / When the braid reaches the first one, continue braiding the section a little further down and slide two bobby pins over the ends.
- Step 12 / With both braids are done, tie them together close to the back of the head. I wrapped the elastic band twice and then removed the bobby pins from the ends of the braids.
- Step 13 / On the last loop of the elastic only pull the hair halfway through to create a little loop.
- Step 14 / With the ends left sticking out, wrap these over the elastic band and pin them in place.
- Step 15 / Then double-back the hair to create the second wrap, under the first, and pin down the ends with another bobby pin.
- Step 16 / Now go back over both of the braids and pull on the edges to make them fuller. Tip: On the top the braid, only pull on the looped pieces and not the hair going into the braid, otherwise the braid will fall loose.
- Step 17 / Then set the style with hairspray.


Hi. I love your tutorials. They’ve really helped me do more interesting things with my hair. I’ve seen lots of tutorials but yours are the clearest and I’ve been able to get results I’m really happy with following your steps. Can you recommend clear elastics that don’t break? I’m in the uk but the ones I’ve bought break at a random point in the day.