
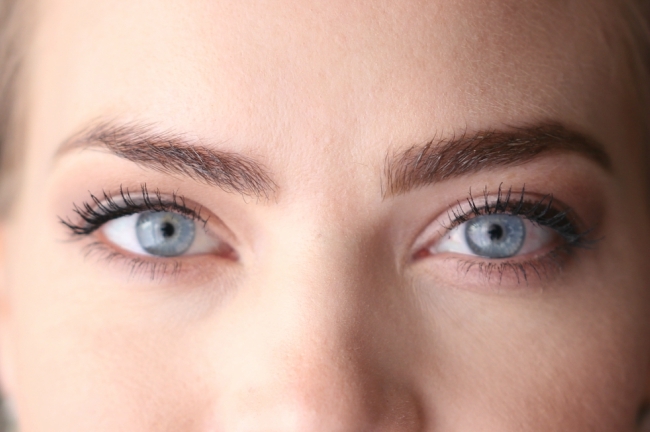
 One beauty practice that I commit to throughout the summer is dyeing my eyebrows each month. It only takes a few minutes and I love the way they look afterwards. Everyday I use either a pencil or eyeshadow to fill them in but dyeing them beforehand helps because then they don’t completely disappear whenever I go swimming. Below are the steps to dyeing your own at home. If you’ve been wanting to give your brows a little extra fleek then I recommend giving this a try!

Supplies:
- Revlon Hair Color Dye – I use Medium Ash Brown
- Mixing Bowl or dish
- Mixing Spoon
- Cotton Rounds or paper towel
- Cotton Swabs
- Travel size toothbrush or brow brush
- it Cosmetics Brow Pencil
- Clear Brow gel
Instructions:
- Step 1 / Prep the skin by washing off any makeup. I also wait to moisturize the skin around the eyebrows as I don’t want this to affect the dye process.
- Step 2 / Measure out 1 tsp of dye and 1 tsp of developer, mixing them together in the bowl using the spoon.
- Step 3 / Use the travel size toothbrush or brow brush to carefully wipe the product along the hairs of the eyebrows.
Step 4 / When the brows are completely covered, use a cotton swab to wipe off any dye around the eyebrows. This is very important so you don’t dye the skin as well.

Step 5 / Set a timer for 7-10 minutes. Oftentimes I will set it for 5 minutes and then reapply more dye and wipe around the edges again. Then set the timer for another 5 minutes.
Note: During this step your eyebrows can become extremely itchy. I attribute this to the chemicals in the dye though I am not an professional expert. If this concerns you then I recommend wiping off the dye at that point though they will not be as dark as they would if left on for the full 10 minutes.
When the dye is setting on my eyebrows they always turn dark purple. They have never stayed that shade and once they dye is wiped away they are a more natural color. If you are concerned then you can do a small strand test to see how your eyebrows will be affected.

Step 6 / Wet a cotton round or toilet paper and gently remove the dye from the eyebrows. Ensure all of the dye is wiped away or else it can continue to deepen up the hair.

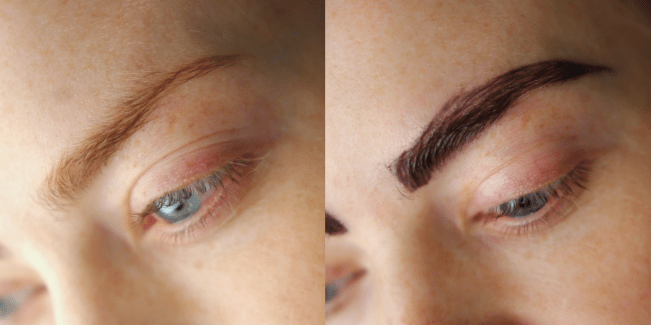
Step 7 / After dyeing my brows I love to fill them in so the tail end is as thick as the rest. Using a wax pencil I begin at the arch and create downward strokes following down the tail of the brow. Then I trace a light line along the top and fill in the sparse area right before the arch.
Step 8 / Next I brush through them with a spoolie brush to help distribute the product and reshape the brow.
Step 9 / Using a clear mascara or eyebrow gel I set everything in place.


i love the eyebrows #sotrendy#mustbeme#mustbenice#genesonpoint#gorg#me#now#jellyyeeeeee
Thanks for sharing this DIY. I will surely try this summer brow. Thanks for sharing!
Best to use a dye that is specifically formulated for eyebrows, it is much safer and gentler and there will be no sting like there is when hair dye is used
Thanks for the tip! I may try it with some semipermanent dye I have.